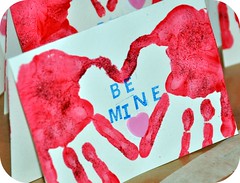
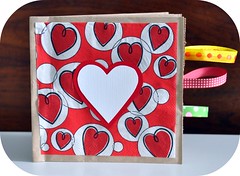
When I think of Valentine's Day I think of plump little cherubs with bows and arrows, lots of heart shaped candies, and little 'Be Mine' valentine cards that you leave for loved ones in places they are sure to find them. Nothing says I love you more than a handmade gift, especially when it is made by a child. These little felt hearts are sure to bring a big smile to mom, grandma, aunty, or whomever you pick to share one with this Valentine's Day.
I actually wrote this article in the fall of 2008 for a Canadian homeschool magazine, but the article never made it to print as the magazine folded before it was Valentine's Day. So I thought I'd dust it off and share it with all of you :)
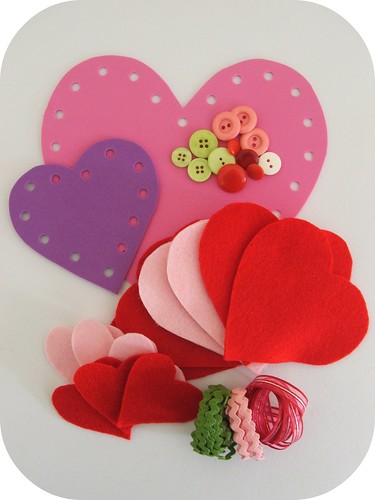
Below are the basic supplies needed to make your felt hearts plus a great practice heart for preschoolers that aren't quite ready for a needle and thread yet. All of this can usually be found very inexpensively at your local dollar store.
Heart shaped template on cardboard
Felt in multiple colours
Embroidery thread
Craft foam sheets
Magnets (optional)
Hole punch
Scissors
Needles
Buttons
Ribbon
Stuffing
I actually wrote this article in the fall of 2008 for a Canadian homeschool magazine, but the article never made it to print as the magazine folded before it was Valentine's Day. So I thought I'd dust it off and share it with all of you :)

Below are the basic supplies needed to make your felt hearts plus a great practice heart for preschoolers that aren't quite ready for a needle and thread yet. All of this can usually be found very inexpensively at your local dollar store.
Heart shaped template on cardboard
Felt in multiple colours
Embroidery thread
Craft foam sheets
Magnets (optional)
Hole punch
Scissors
Needles
Buttons
Ribbon
Stuffing
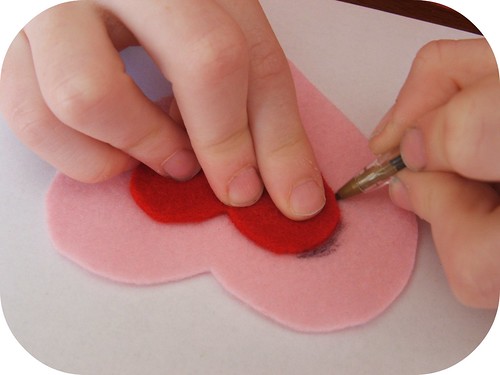
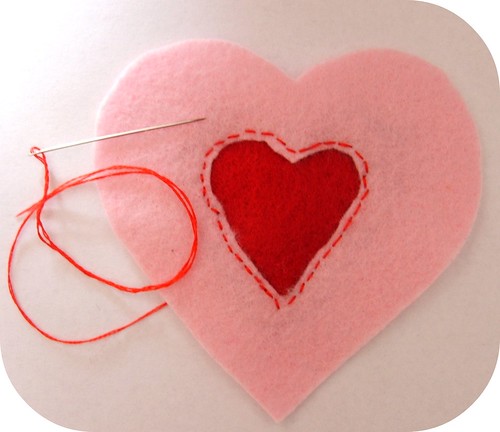
Start by making yourself a heart shaped template on cardboard. We used a large cookie cutter for our pattern, but you can easily draw your own if you don't have something to trace. The cardboard will make a nice stiff pattern for your child to trace around with a pen or marker onto your colored felt and then have them cut it out with a sharp pair of scissors. Plastic kindergarten scissors will not cut through felt very easily if at all, so you may want to pre-cut some hearts for your younger children if you don't feel comfortable with them using larger scissors. Once you have your two heart pieces cut out you can start to decorate the one which will be the front of your completed heart with some simple embroidery stitches.
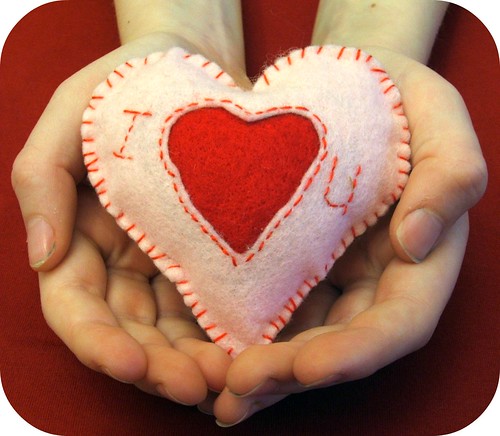
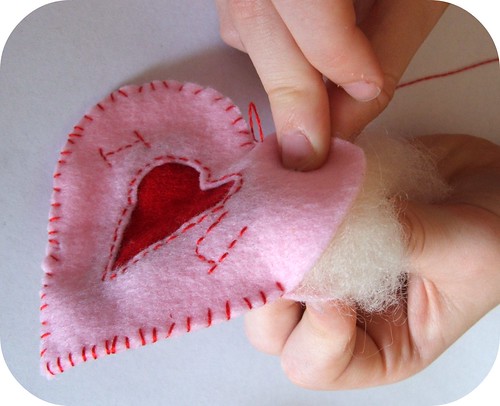
My son really wanted to make a heart with a little phrase on it. So we used a smaller heart inset into a larger heart as shown above and instead of having him stitch the complete words we used the letter 'I' along with the heart and the letter 'U' to symbolize I Love You.
Many of us have younger children that really want to sew just like big brother or big sister but need something really simple, so how about buttons? They are great for beginning sewers since all it requires is to go in and out of the holes, plus you can put a few stitches in first to secure it and they can loop around to their hearts desire. We created a cute little button flower by sewing three buttons on top of each other, adding on two green leaves which my five year old stitched some lovely veins onto and there you have a super easy flower to embellish your heart with. But let's not forget about the preschoolers! Who says you need to have a needle and thread to sew? You can make a quick and easy heart shaped lacing card out of a sheet of craft foam by punching holes around the edges of the heart with a hole punch and using a piece of ribbon or a shoe lace as the thread to weave in and out of it. Now you've created sewing fun for the entire family.
After you have finished decorating the front of your heart it is time to stuff it. Place the front and back pieces of your heart together with the right sides facing outwards and stitch around the outer edge with a simple whip stitch. Make sure you leave an opening somewhere around the edge so that you can get your stuffing inside. You can make it as plump as you like, and when you feel it has enough continue stitching up the outer edge until your heart is completely closed. Now that your heart is all sewn up you can attach a little ribbon hanger to the top of it or glue a magnet to the back with a little bit of hot glue so that it can be used as a fridge magnet.
The only thing left to do now is decide on who to give your heart to :)
Check out another one of our Valentine entries from last year to see what we did with all of our little felt hearts by making a Valentine Tree!
~ Rosina
The only thing left to do now is decide on who to give your heart to :)
Check out another one of our Valentine entries from last year to see what we did with all of our little felt hearts by making a Valentine Tree!
~ Rosina



 Click the Instagram link above to follow me :)





2 comments:
Rosina!! UGh! you do the cutest things, my house is going to be full of crafts thanks to you! :) Have a good weekend!
Oh you make me smile so much Lala!! I'm so happy that you are enjoying my little craft projects :) You know you can never have enough craft projects or supplies in my opinion *grin*. Have fun creating!
Post a Comment