
My little girl and I had fun today playing with some of our felt rovings and creating felt scenes :)
I know that many of you felt quite regularly but I thought I would take some photos of our progress today and share them just in case some of you are unfamiliar with how to wet felt wool :)
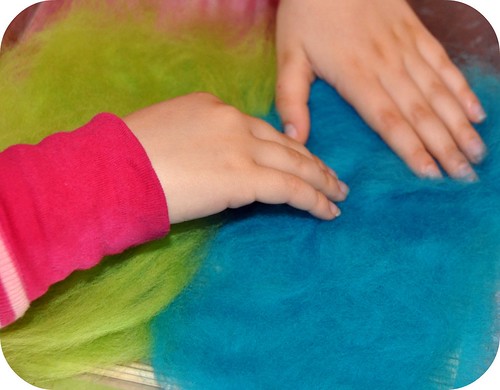
It's a really fun craft and you only need a few different colors of wool rovings to get started. We used corriedale rovings that I purchased here and you want to start by taking small chunks of your roving and pulling it apart evenly so that it is all fluffy and lay them down on a sushi mat or sheet of bubble wrap. Lay down one complete layer going horizontally and then repeat the process laying down your wool vertically and again the opposite way so you have three layers of wool.
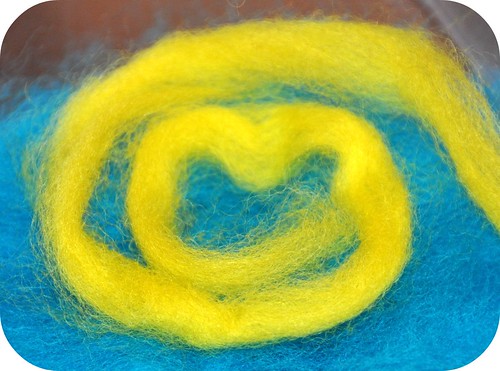
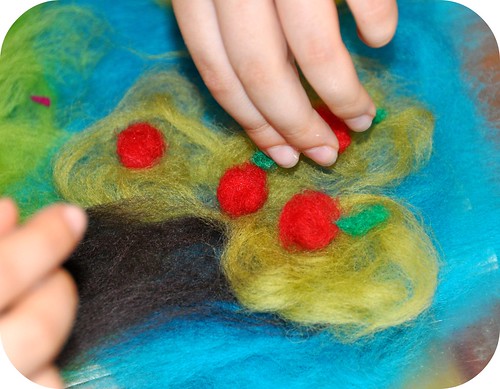
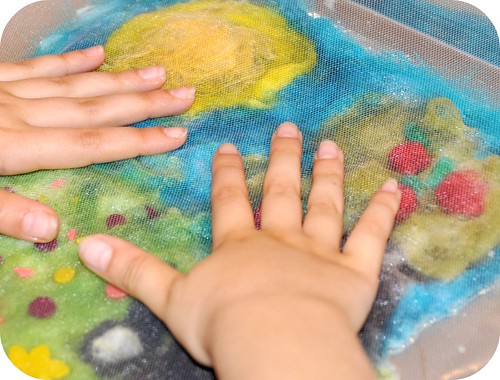
Now you can get really creative and start adding the details to your picture :)
It's like painting with wool *grin*.
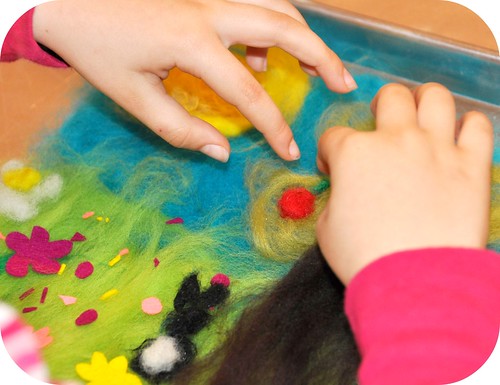
L wanted lots of flowers so we tried something new and cut out flower shapes from a sheet of the pre-felted craft felt and then placed a few loose strands from our wool rovings over them to hold them down as I wasn't quite sure how they would felt :)
When she had all of the final touches added we placed the wool covered mat on a cookie sheet, covered her picture with a piece of mesh and started to slowly dribble water all over it until all of the wool was wet. The cookie sheet will keep all of the water nicely confined so that you don't end up with a giant water puddle on your table :)
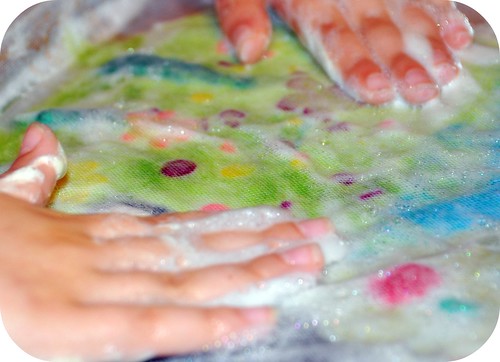
Drizzle a little bit of liquid dish soap over the top of your mesh and start to slowly and gently rub the surface of your mesh. You will start to notice that the wool begins to work together and doesn't move around as much under the netting. Make sure you lift the netting off of the wool every couple of minutes though as the wool fibers will start to work their way through the holes in the mesh and you don't want your picture to get stuck to the netting :) Keep doing this until all of your wool looks like it has bonded together well enough that you can lift it gently and it won't all fall apart.
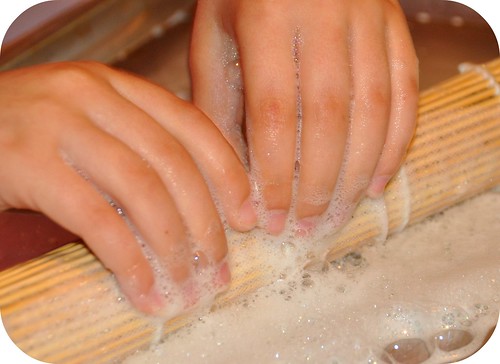
Now that you have one solid sheet of felt, albeit a delicate one, you can roll your mat or sheet of bubble wrap up tightly with your felt and netting inside and roll it back and forth. This will squeeze out some of the excess water and continue to agitate your wool and help it work together even tighter.
Continue rolling for a couple of minutes, then stop and unroll it, pull up the netting to keep it from sticking to your felt and then turn the entire piece of felt 90 degrees so that when you roll it up again it will agitate the wool in a different direction from the last time. We kept rolling and unrolling for about 10 minutes and then I took the whole thing over to the sink and plunged it into hot water and then cold water a few times to really shock the wool so it tightened right up.
Now that you are all finished with the water you can unroll it, remove the netting and roll it up in a tea towel to suck out the excess water :)
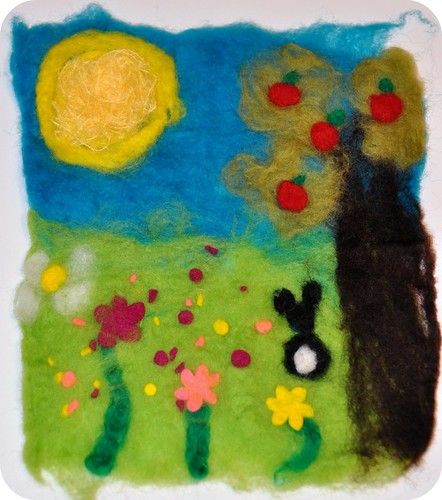
And here is her finished picture. I think she must have had an Easter theme in mind with the little bunny in the flowers :) I just love how it turned out for her and tomorrow when it is completely dry we're going to hang it up on the wall.
Have fun felting!
Hugs,
Rosina
PS. Looking for more crafty ideas or inspiration? Pop over to Natural Suburbia's Creative Friday and see what others are up to :)


10 comments:
Thanks for stopping by my blog - lovely to have found you!
Have been meaning to try this for some time - you have inspired me. Thank you!
I've done lots of needlefelting but no wet felting yet, looks like fun!
Ive never tried wet felting a picture, id love to give it a go. Your daughters picture is beautiful! Did the felt pieces stick on well?
Ive never tried wet felting a picture, id love to give it a go. Your daughters picture is beautiful! Did the felt pieces stick on well?
Hi Karen :) The little felt pieces we used stuck well with the little bit of loose roving fibers over top of them. They acted like anchors and held them down nicely :)
Oh my gosh, that's beautiful! I can't wait to do that with my daughter ... though we may have to wait a while ... she's only 3. Or perhaps we'll give it a go and just see what comes of it. If it doesn't turn out, we can try again later!
Hello. I have linked this post to my blog about needle felting with children as you give such a lovely explaination of wet felting, which I wanted to suggest as an alternative for little ones.
You can see my post here: www.gingerkittenhandmade.co.uk/first-needle-felting/
Did you know that you can shorten your links with OUO and receive money for every click on your short links.
This is beautiful, and I want to try with my daughter next week. What kind of mesh do you use?
I love how creative this craft is.
Post a Comment