Friday, March 5, 2010

Seedy Saturday Is Upon Us


1. seedy saturday, 2. Runner beans, 3. Seedy Saturday, 4. packets 1

Okay spring fever has officially hit *grin*. There are seed displays in every garden market, grocery store, hardware shop, dollorama... you name it and they've probably got some. Not to mention the half dozen seed catalogues that have arrived in the last month :)

You can't escape it! Not that I really want to as it's so rewarding to grow your own vegetables but the cost can become astronomical if you don't watch your pocket book. That's where the 'Seedy Saturday' comes in!

Seedy Saturdays are a fantastic way to get heirloom, organic, untreated, non GMO seeds at great prices or for free if you have saved seeds of your own to swap with others :) The wealth of information is unbeatable to! These seeds are tried, true & tested and the guy or gal behind the table can give you the ultimate low down on how to raise up some mighty fine veggies *grin*.

This weekend there are nearly a dozen different swaps that I know of going on across Canada and I'm heading out to one in hopes of finding some new potatoes to plant, a few strawberry runners and whatever else catches my eye :)

Have a peek at the Seeds of Diversity website and see if you are close to one of the many swaps happening this weekend and on through the month. You won't be disappointed and even if you don't buy anything check out some of the seminars they're hosting or pick the brain of your local seed savers chapter and find out how you can hang onto some of your favorite seeds to.

See you out there!
~ Rosina

Thursday, March 4, 2010

I'm Late, I'm Late, For A Very Important Date!

The White Rabbit ~ Alice in Wonderland

I have been literally counting the days until I could show you what I made for my Alice in Wonderland swap partner *grin*. I wanted to keep it top secret so that it was a total surprise so I restrained myself from sharing any hints! Today I received an email letting me know that it had arrived and she liked it and I'm so happy :)

From the information that I had I knew that she loved bunnies so I knew that the White Rabbit was a must do! The only problem was that I had no pattern *gasp*. I wasn't sure how I was going to tackle making a rabbit having never made one before.

The White Rabbit ~ Alice in Wonderland

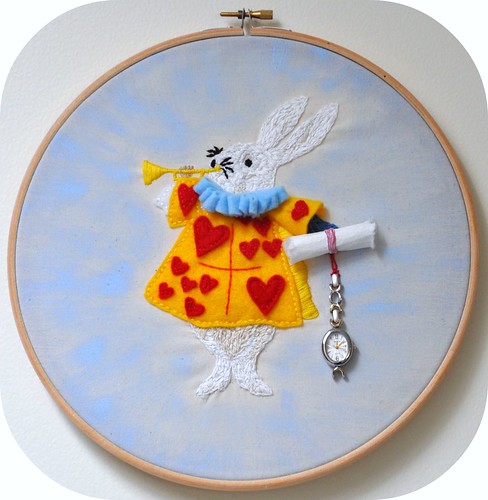
I thought perhaps I would sew one from fabric but I was stumped. I'm a sucker for felt as you know so I knew I would have to use felt in some shape or form and then it hit me. I would create the white rabbit in a mixture of embroidery, felt & found objects!

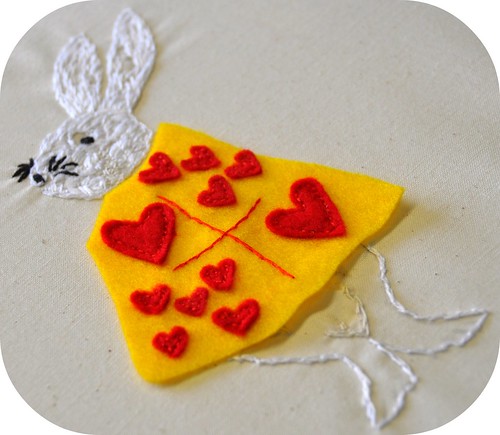
I started by going completely high tech and sketched an outline of the rabbit onto my muslin canvas with a pencil *grin*. As I was stitching I wanted to give him the illusion of being furry so I made a hodge podge of irregular stitches all throughout his face and bottom so that he looked ruffed up and I think it turned out pretty well. If you're a pro at embroidery please don't slay me for bad form! LOL

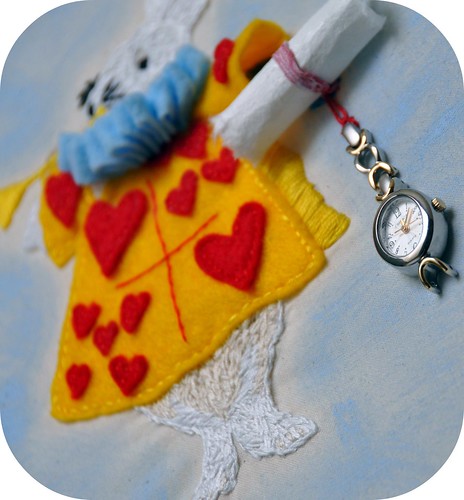
Next was to tackle his clothing and give him a bit of a 3D effect so that he looked like he was popping off of the canvas :) Leaving the embroidery thread to just stitching on the pieces I made his tunic and collar from my felt stash. The sleeve on the right is actually sewn so that you can look right up inside of it and see his embroidered arm and for the collar I folded some blue felt accordion style and then snipped and tacked it until it fit just right :)

The White Rabbit ~ Alice in Wonderland

But he still looked incomplete. He needed a scroll and a watch since in the movie he is always checking it and yelling out he was late but I didn't want them to be flat pieces to my puzzle by using felt or more embroidery. So I hit the second hand shops until I could find an old wrist watch that was dainty enough to be his pocket watch :) I wrapped & glued some embroidery floss around a scroll made of some stiff handmade paper I had from scrapbooking and then stitched it and the dangling watch head beneath it to finish my white rabbit creation :)

The White Rabbit ~ Alice in Wonderland

I'm pretty darn pleased with how he turned out and the last little touch I added was to paint the ecru colored muslin with a bit of light blue paint in irregular strokes to give him a bit of a whimsical look. The kids actually thought that it looked a bit like he was flying and I thought that was perfect since Alice had fallen down a rabbit hole.... perhaps my white rabbit was on his way flying through his rabbit hole as well *grin*.

Such a fun swap!! If you want to see more of what others made for their swap partners you can check out the flickr group here and have fun watching the new Alice in Wonderland movie this weekend! We're definitely going and I can't wait :)

~ Rosina

Wednesday, March 3, 2010

Alice in Wonderland Package

Alice in Wonderland Swap

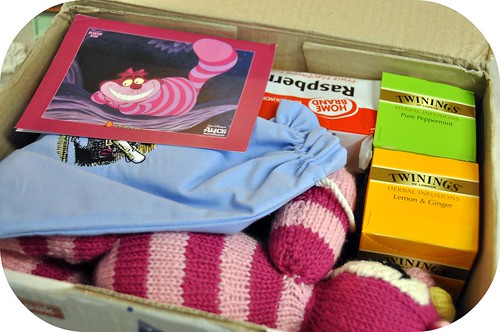
A surprise package was waiting for me in the mailbox today.... it was my Alice in Wonderland swap goodies from my lovely partner in Australia!!!

Alice in Wonderland Swap

And a mighty big box it was *grin*. She spoiled us with loads of chocolate, tea, biscuits, stickers, a tea towel....

Alice in Wonderland Swap

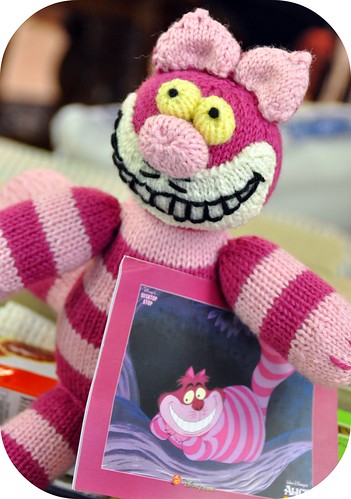
this super cute hand knit Cheshire Cat which I love, love, love *grin*....

Alice in Wonderland Swap

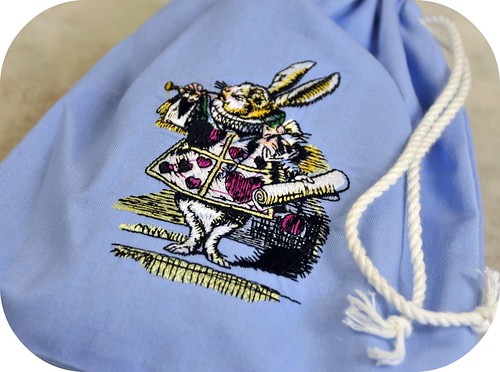
and a cute little drawstring pouch filled with more chocolate and machine embroidered with the white rabbit on the front :)

Alice in Wonderland Swap

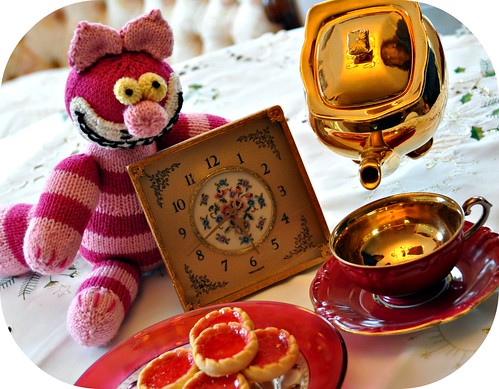
I must say that this has been one of the best swaps I've had in some time :) My daughter is absolutely smitten with the Cheshire cat and has taken temporary custody of him and we had to break out the jam filled biscuits which the Queen of Hearts would have loved and have a Mad Hatter tea party of our own *grin*.

Thanks so much Jill and I hope that you get as much happiness out of my package as we from yours :)

~ Rosina

Tuesday, March 2, 2010

Give Life To Outgrown Clothes ~ Make Your Own Cloth Napkins

sewing napkins

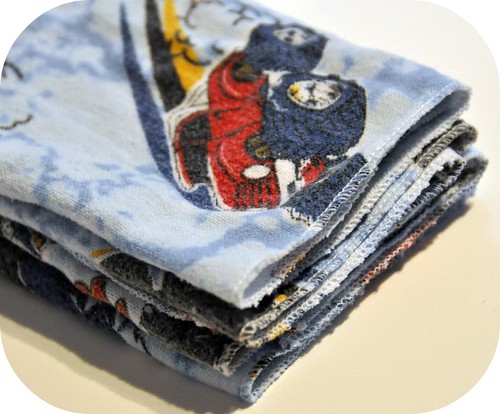
I'm slowly phasing out all of the paper towels and napkins out of our home, replacing them with cloth napkins and the stash of flannel in my sewing cupboard is finally getting put to good use making lovely soft napkins that the kids love to use :)

sewing napkins

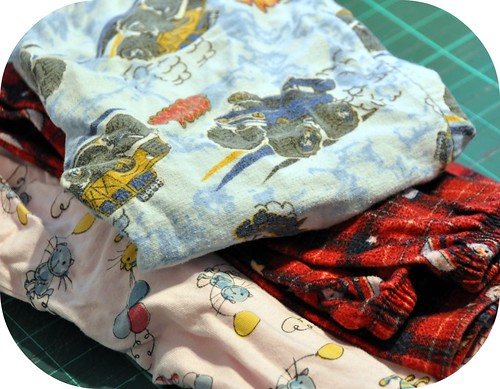
But I started thinking about what else I could find around the house to reuse and give new life to in the form of napkins. With three kids growing like weeds there's never a shortage of to tight pajamas or ones that accidentally got snagged on something and blew out a knee *grin*. So instead of throwing them in the rag bag I dug them out, washed them all up and headed to the cutting table.

sewing napkins

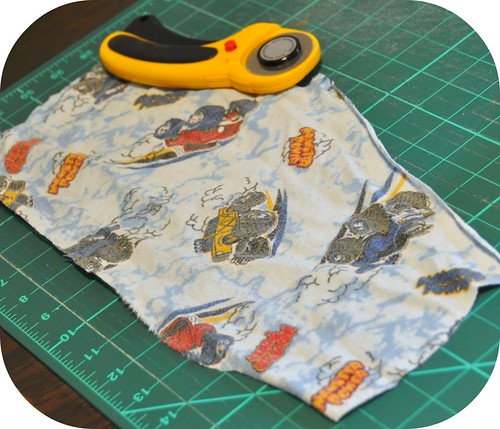
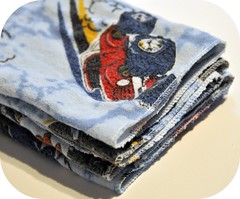
By snipping off the waistbands and cuffs and cutting out all of the seams I was left with 4 panels. Slightly odd in shape but very usable!

sewing napkins

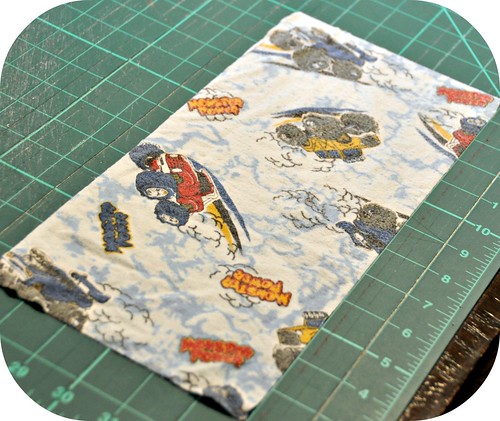
With my rotary cutter & ruler I trimmed them up so that they had nice straight edges. A few of them had ripped knees so I had to trim them a little shorter but out of my 4 year olds pj's I was able to get a good sized 6 x 13 inch rectangle out of most of the flannel panels.

I don't get to use my serger very often so I was excited to be able to stitch, trim & hem all of the sides in seconds *grin*. Boy does that thing zip along! And it just happened that Sew Mama Sew blogged about making napkins using a rolled hem stitch with a serger so I got to brush up on my technique with her handy tutorial :)

sewing napkins

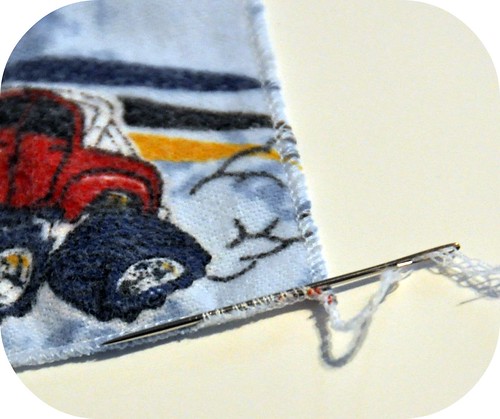
The only drawback to using my serger is those darn thread tails that it leaves behind. A quick fix is to either trim off those tails and dab fray stop or another liquid sewing glue on the corners to hold the threads together permanently or sew them in like I did in the above photo.

I thought that since they are going to get a lot washing with all of the dirty hand wiping that I'd make sure they were never going to come undone. So I took an embroidery thread with a large eye and threaded the tail through the end and then ran it back through about an inch of stitches :)

I love it! New life to old pajamas keeping them out of the landfill and those favorite pj's that your kid insisted on wearing every night to bed because he loved them sooo much are back *grin*.

Have fun reusing something out of your outgrown stash of clothes :)

~ Rosina

Monday, March 1, 2010

Flickr Favorites ~ Through The Looking Glass


1. "...and even if my head would go through...it would be of very little use without my shoulders", 2. Through the Looking Glass, 3. Alice through the looking glass, 4. Mad Hatter

With my Alice in Wonderland package safely on its way to my swap partner I'm just itching to share with you what I made for her but I'm going to have to keep it a secret for just a little while longer until she receives it :) What I can share though are some fun 'through the looking glass' photos that I found on flickr as I anxiously wait for Tim Burton's new version of Alice to be released on Friday!! It looks like it's going to be good, plus I like the dark twist he puts on his movies *grin*.

Anyone else heading out to see it this weekend?

Have your own flickr favorites and want to play along? Visit Mitsy over at Artmind to join in the fun :)

~ Rosina

Sunday, February 28, 2010

Recipe ~ Raspberry Strawberry Scones

raspberry scones

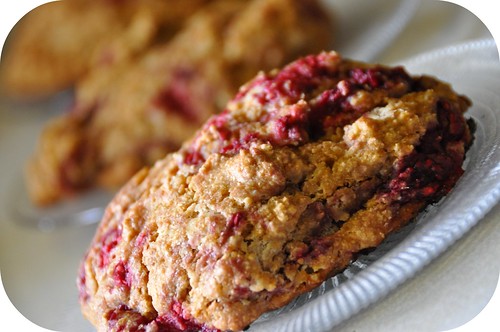
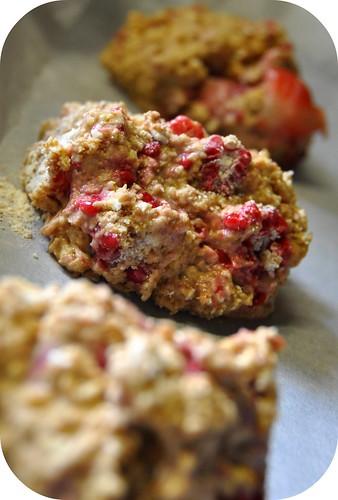
These scones are a huge hit around our house and they're entirely whole wheat which is an added bonus :) This batch will make 18 large scones so there is plenty to warm up for the following day.

raspberry scones

Ingredients:
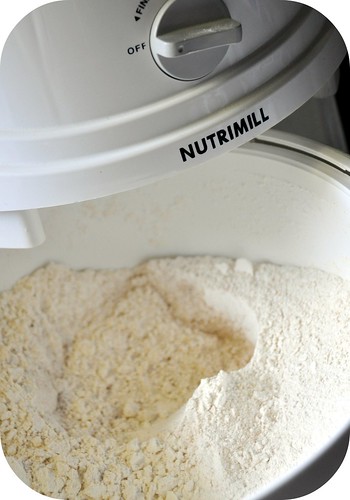
  • 6 cups freshly ground soft wheat berry flour milled on your finest setting or 6 cups of whole wheat flour
  • 1 cup sucanat or white sugar
  • 4 teaspoons baking power, preferably aluminum free
  • 1 1/2 cup unsalted butter
  • 3 cups milk or buttermilk
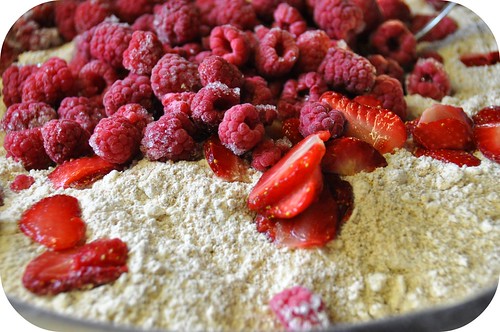
  • 1 cup sliced strawberries
  • 1 cup raspberries
raspberry scones

Cut the cold butter into your flour until it resembles a course texture similar to corn meal. I actually like to use my food processor to do this as it only takes a couple of pulses to cut the butter in nice and fine :)

Next add your sugar and baking powder and use a fork to sift it through your flour/butter mixture. Once you've done that you can add your raspberries and strawberries and gently coat them with your flour mixture. I had the berries frozen in the freezer from last summer but you can substitute any sort of berry in their place. Blueberries are lovely also :)

raspberry scones

The final step is to add your milk and blend it all together just until your flour is moistened. Don't over mix it! Using an ice cream scooper or spoon similar in size scoop nice plump balls of your scone batter onto parchment covered cookie sheets and bake at 425 degrees Fahrenheit for approximately 15-20 minutes or until nice and golden brown. You can test them by inserting a knife into the center of a baked scone and if it comes out clean then it is done. Another way to test if they are finished baking is to gently press down on the top of the scones and if they spring back up after you release your finger then they are finished :)

Enjoy devouring these delicious goodies!

~ Rosina
Friday, February 26, 2010

Photos around the farm

Around the farm

It was a lazy day around here today. Just a bunch of housework and I didn't really think that you wanted to see pictures of me buried under the Mount Everest sized pile of laundry so I thought I'd share some recent photos that I took around our property :)

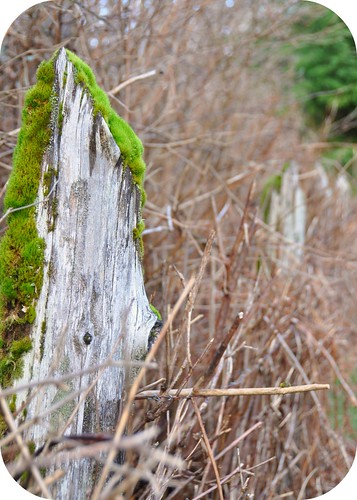
Weathered old fence posts still standing strong despite their outward condition. They've got character now and so much more interesting with their lumps of moss.

Around the farm

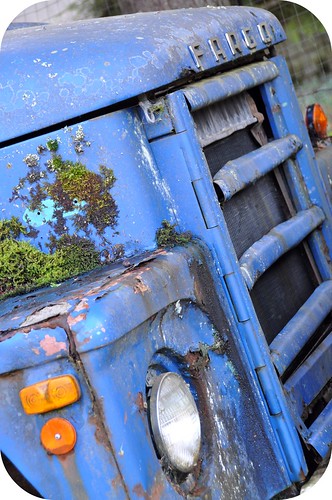
The old cattle truck in its final resting place behind the chicken coop. It's becoming one with nature as the moss, vines and trees grow in around it.

Around the farm

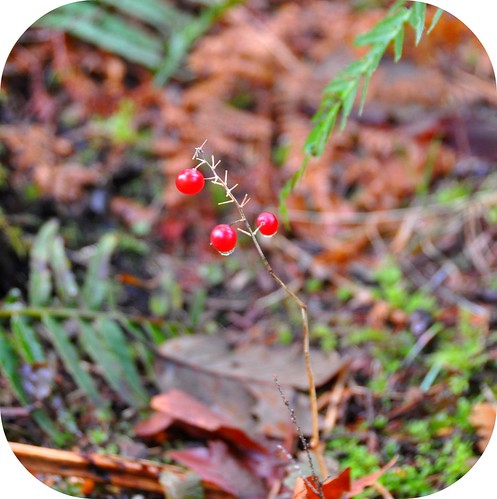
The most beautiful red berries along the trail to the bottom field. They were everywhere amongst the fallen maple leaves and ferns.

Around the farm

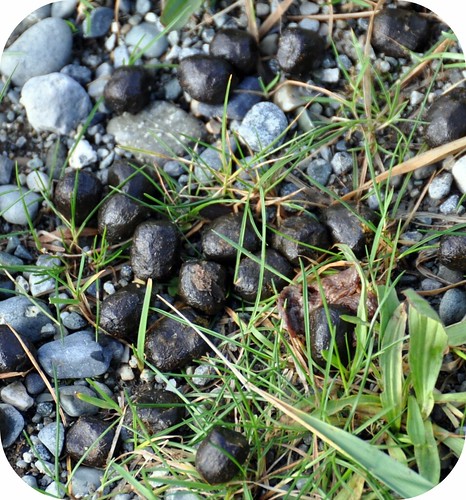
Random piles of elk droppings throughout the fields from the fence crashing intrusive beasts. Such beautiful animals to see but oh so destructive. They can rip up a wet field in spring with their hooves and graze down all the grass in summer in the blink of an eye.

Have a lovely weekend!
~ Rosina
Thursday, February 25, 2010

Gardening Catalogues

Go Canada

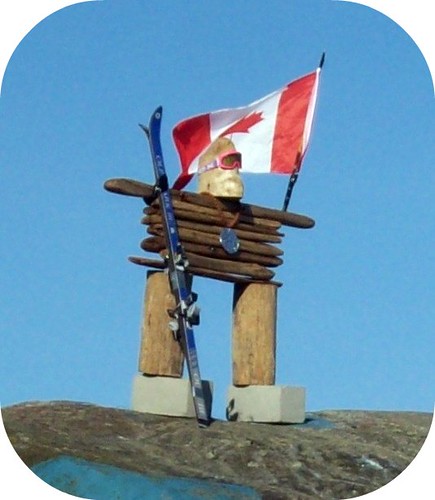
We just had to stop and take a photo the other day when we went down island of this great Inukshuk atop the big rock in Campbell River :) Someone was definitely bitten by the spirit of the Olympics *grin*.

Gone is that beautiful blue sky that was in the above photo and it's raining again but I've been cheering myself up with thoughts of planting my garden! I've been ordering from West Coast Seeds out of Delta, BC for quite a few years now and I've got my new 2010 catalogue dog eared already with my new favorites and old faithfuls :)


All of their seeds are untreated & GMO free and there are some new certified organic seeds as well. Quick note though, it appears when you do a quick glance through the first pages that all of their seeds would be organic with all the certified organic stamps and write up flashed but only seeds listings that specifically say they are organic actually are. I was really hoping that all of the seeds were now organic but some is better than none!

If you're in Europe, specifically England I just received a fabulous seed catalogue from a company called Sarah Raven's Kitchen & Garden and it is just chocked full of organic seeds!! So many interesting and very different vegetables to choose from.

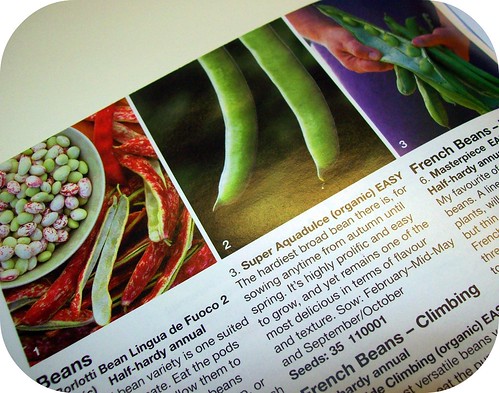
seed catalogue

I was particularly interested in the organic bean seeds that they have. We live in a colder climate and there is a cool climate pole bean named Borlotti Lingua de Fuocco that can be planted in April which is nearly 2 months ahead of when we can plant our usual bean seeds and another broad bean named Super Aquadulce that can be sown in February or September for a fall/winter crop. Sadly though it appears that they don't ship outside the European union so I guess my crazy winter bean dreams will have to be put on hold LOL.

Do you have a favorite seed company that sells organic seeds in Canada or ships to Canada that you could share?

~ Rosina

Wednesday, February 24, 2010

Could this be a sign?

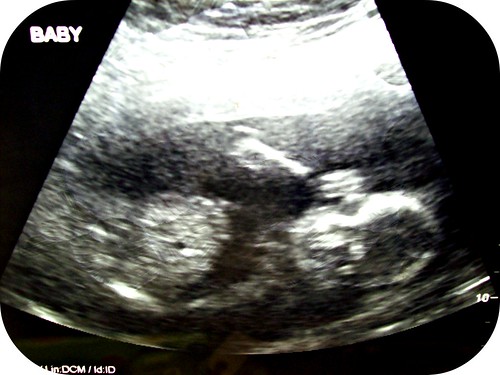
M's ultrasound

I was rooting around in the cupboard that I store all of our bills and miscellaneous paperwork in when I ran across a mysterious little brown envelope. To my surprise inside were two little ultrasound x-rays of my youngest son taken in 2005 when he was around 19 weeks :)

I had completely forgotten that I had tucked them up there for safe keeping and how funny to come across them just days after we finished celebrating his 4th birthday! Could it be a sign? Perhaps it's a hint that we should have another baby. Three is an odd number and we really should even it up right? *grin*. Come on, I"m going to need some backing if I'm going to convince hubby that we should have another one! LOL

I'm going to have to tuck these away in a more appropriate place, like with the rest of the baby stuff, but I think I'm going to swoon over them just a little bit longer :)

~ Rosina
Tuesday, February 23, 2010

Tutorial ~ Make A Felt & Fabric Birthday Banner

birthday bunting

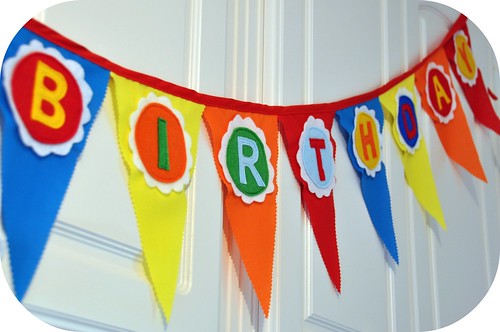
I'm so pleased with how the Happy Birthday banner I made for my son's birthday last weekend turned out that I just had to share it with all of you :)

birthday bunting

You will need:

Printed ABC's
an assortment of colored felt
coordinating cotton fabrics and thread
cookie cutter, mug or something else round to trace around

birthday bunting

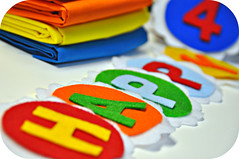
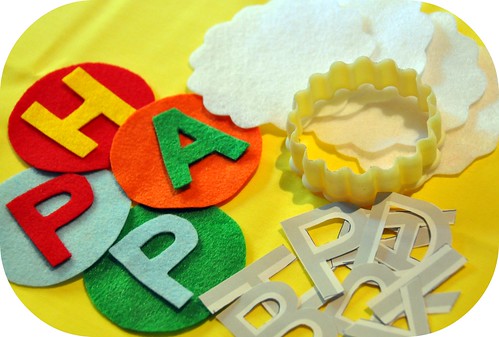
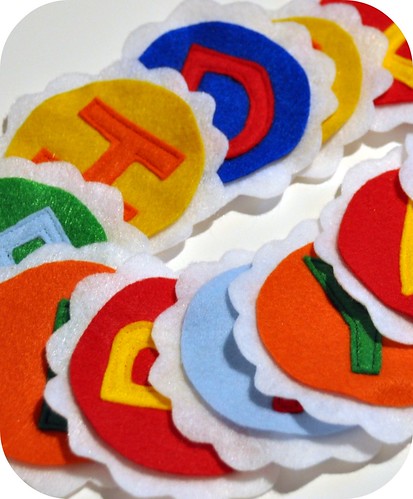
I started by tracing 3 inch circles on my felt using one of my water glasses as a tracing pattern :) Then I found a 4 inch scalloped cookie cutter that was just perfect for the white accent underneath the colored circles and traced around it, then cutting both styles of circles out. Don't worry if you don't have items that are the exact measurements that I used, check out your cookie cutters & glass cupboard and match up sizes that you have :)
Next using my word processor program on my computer I typed in 'happy birthday' and adjusted the size until the letters printed out at a suitable size to fit on the top circle comfortably without being to close to the edges. I used the 'Arial' font at 200 points for the size :)

birthday bunting

With all of your circles and letters cut out, stack them together the way that you want them to look and start by sewing just your letters on through all 3 layers of felt. This is much quicker than hand sewing and I was in a bit of a time crunch *grin*.

birthday bunting

With all of your letters attached it's time to get your flags cut. You'll have to excuse my hodge podge assortment of measuring tools! LOL. I only had one ruler that was long enough so I had to resort to fabric scraps for the other side *grin*. Not a big deal at this point though, all you want to do right now is visualize how big you want your flags to be so that your felt circles are going to fit nicely and jot down your measurements for when you are ready to actually start cutting!


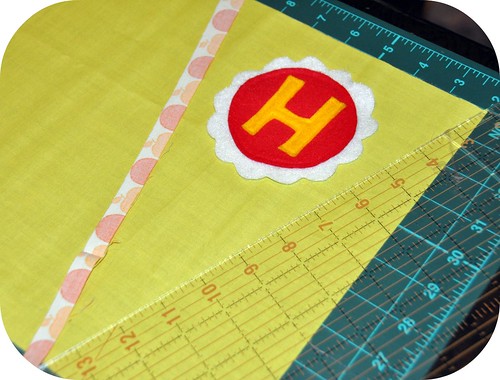
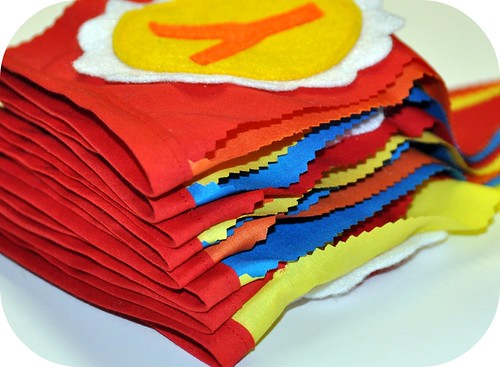
Now that I knew exactly what size my flags we're going to have to be to look good, I started to cut. I used a 10 inch wide strip of cotton cut parallel to the selvage along the width of my fabric leaving me with a nice rectangular chunk.

With my flags planning to be 7 inches wide at the top, I lined one end of my ruler up at one of the corners on the narrow end of rectangle sized fabric and moved the other end of the ruler diagonally across the fabric so that it stopped 3.5 inches further up the fabric on the opposite side. This first cut was going to create one side of one flag. Once that was cut I repositioned my ruler so that it stayed on the 3.5 inch mark on the one side and slid the opposite end of the ruler up the fabric 7 inches and made my second cut which then created my 7 inch wide triangle like in the above photo.

To continue cutting your triangles out of your rectangular piece of fabric you just alternate what sides you count up your 7 & 3.5 inches. Hopefully my photo is worth a 1000 words and helps clarify my instructions *grin*.

birthday bunting

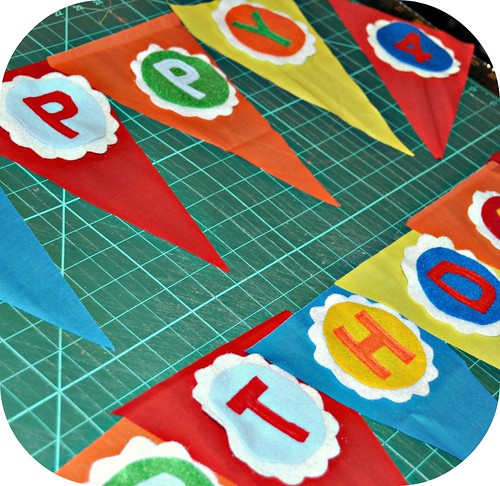
With my assortment of colored flags all cut, I laid the entire banner out so that I could alternate flags & felt alphabet circles around until I had it looking just like I wanted :)

birthday bunting

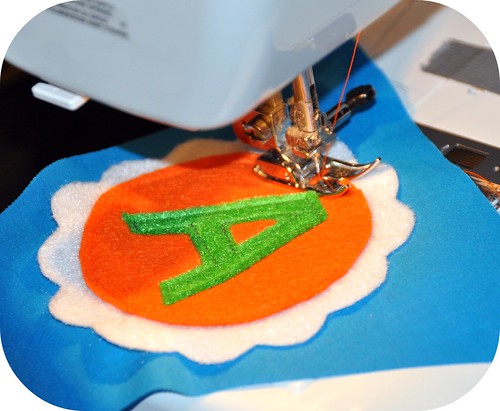
As soon as I had my line up decided I took them to the sewing machine, positioned each circle 3/4 of an inch below the top of each flag and then edge stitched inside the colored felt circles to attach them permanently to the flags.

birthday bunting

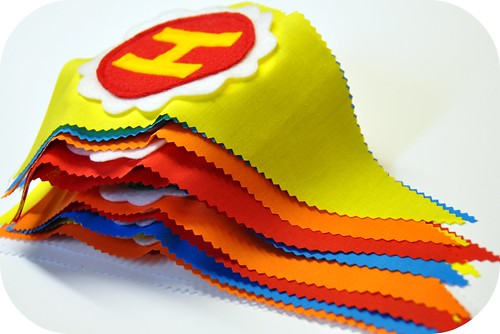
Since I never turned under any of the raw edges on my cotton I was a bit concerned that with all of the handling it was going to start to fray. So I took my pinking sheers and quickly cut down each of the edges tidying up any stray threads and giving them a fun finish :)

birthday bunting

The last and final step was to attach some pre-made bias tape along the top, connecting all of the flags together :) Now if you're really industrious you can actually make your own bias and the thought did actually crossed my mind but I opted for the easy way out and used the pre-made stuff *grin*.

M's 4th Birthday

That's it! One fun and super colorful birthday banner :) These could be used for anything to, not necessarily just birthdays. They'll gussy up any festivities and you could personalize it with your child's name to! The only thing that I would have changed was to put on the number 4 with velcro so that I would have been able to remove it every year and update how old he is. Alas, hindsight is 20/20 *grin*.

Have fun making one of your own and let me know when you've finished it. I'd love to see what you do to make yours special :)

~ Rosina