The Halloween fun was in full swing here today :)
I had been putting off carving the pumpkins we had picked because we have a rogue bear on our property again right now and I didn't want to take a chance that we would carve them and he would eat them! But with Halloween already tomorrow we couldn't wait any longer so I set up an outdoor carving station for the children this year :) We dragged out a couple of saw horses and an old table top I keep for crafting and put them in the backyard where they could muck about as they cleaned their pumpkins, making as much mess as they like and I didn't have to worry about it getting stuck to the kitchen carpet *grin*.

So much ooey gooey fun!

While they scooped I picked out all of the seeds. I can't wait to roast them tomorrow in the oven with a little bit of sea salt and olive oil. Yummy.
 <
With all of the messy scooping finished we moved back indoors where it was much warmer and finished carving their faces. I can't help but giggle every time I see this one that my 5 year old did :) Those eyes are hilarious! I can't wait to show you the one my oldest son did this year to, but he has asked me to wait as it's surprise for the rest of our family and he doesn't want to take a chance that someone will see it on here ahead of time :)

A couple of years ago we started making Halloween gingerbread houses and they are so much fun to build. Who says gingerbread is only for Christmas!

Of course you can never have enough candy corn for this sort of project. Just don't eat to many of them. Those little triangles of sugar are SO sweet. I had to count out just a few for each of the children or I knew they would free range in the bowl and I didn't want them to eat to many :)

After all the pasting of the icing, sticking gum drops, licking fingers and squabbling over who used to many sprinkles we had one great Halloween house.

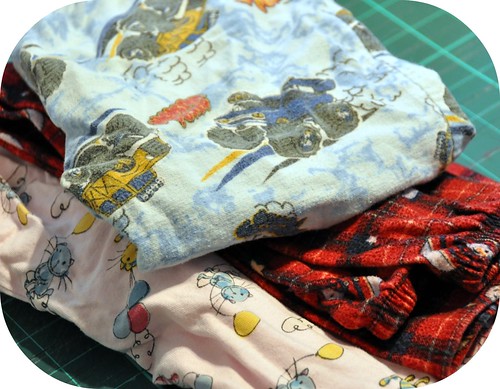
All three of my children asked for hooded cloaks this year so I spent most of today repurposing old fabric that we found at the salvation army into hooded cloaks :) We don't go out trick or treating but we do like to dress up so usually I just go and buy them some fun costumes after Halloween is over and they are on super discount but this year they wanted to dress up for our party so mama had some sewing to do.

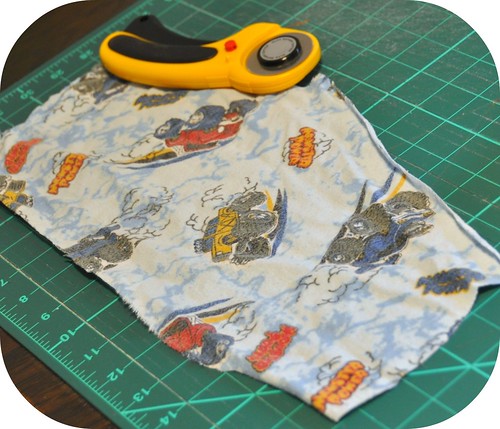
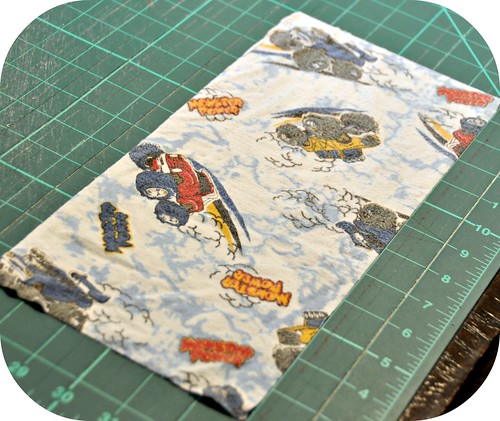
All of the pieces of fabric were different sizes and weights and I didn't have a pattern so we did a lot of cutting and measuring while each one laid on top of their material *grin*. I just love this heavy brocade with it's greens and golds that L picked out. It is heavy and silky and it just seemed like the perfect material for a cloak. Unfortunately there wasn't quite enough to make it ankle length but I think it turned out well just below the knee :)

And I love the hood! Oh my, I think I need one to *grin*. Her tiny head just gets swallowed up in it as she peers out and she loves it :)
I had hoped to get some of my party food prepared today but no such luck :) So tomorrow I will be a slave to the kitchen until time to unveil my horrific creations LOL. What are you doing for Halloween?
Hugs,
Rosina




 Click the Instagram link above to follow me :)