Showing posts with label fruit. Show all posts

Tuesday, February 14, 2012

Happy Valentine's Day

Valentine Candy Apples

Oh did we have fun today!
We munched on our special candy apples...

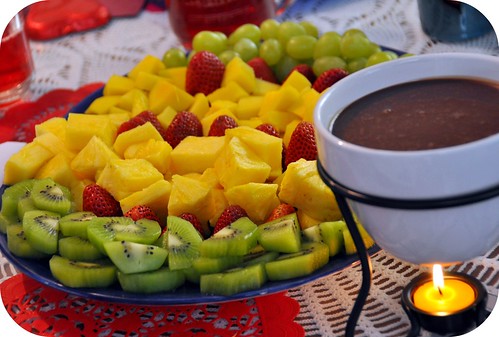
Chocolate Fondue

stuffed ourselves silly with fruit and chocolate fondue...

Mini Whole Wheat Pizzas

enjoyed mini whole wheat pizzas...

Chocolate fondue

and got really, really, really sticky *grin*.

Hope you all had a great Valentine's day to!

Hugs,
Rosina

Monday, April 18, 2011

Deliciously Green

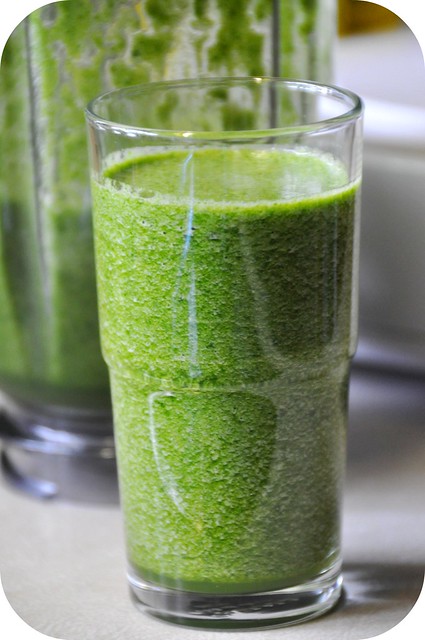
Green Smoothie

I generally try not to make new year's resolutions as I have a terrible time keeping them but this time I made a promise to myself to live this year intentionally. I want to grab the year by its horns and live it to the fullest, taking control of my days and getting the most out of them for both myself and my family :)

There are so many facets of our life that that encompasses. Such as my desire to slow down the rhythm of our days in order to make even more time to cherish my family, enjoy the simple things life brings no matter how small, increasing our self sufficiency by growing more vegetables and raising more livestock, and fine tuning our diet to try and make sure the foods I prepare for my family are as wholesome as possible to name just a few.

That last one is a tough one though but I'm working on it :) Which is actually where I'm heading with this little ramble that I've taken you on *grin*.

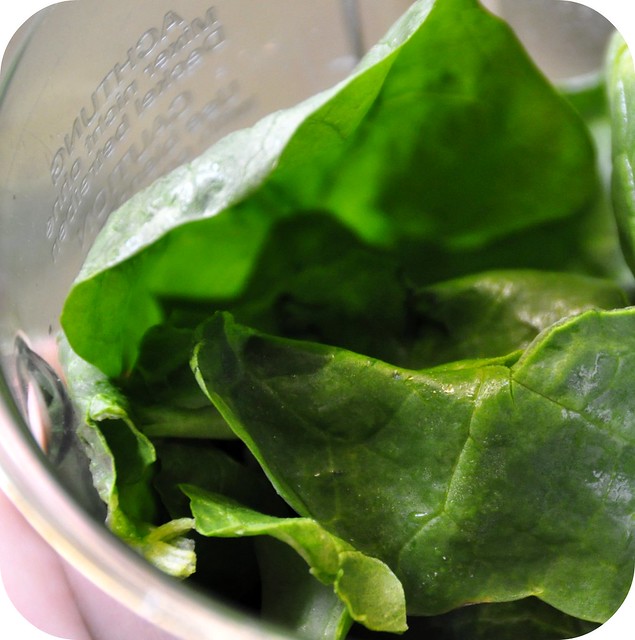
Spinach

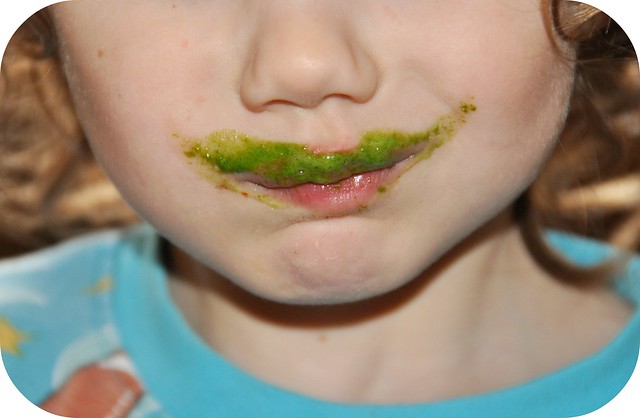
For the last couple of months I have made it a morning habit to blend up a surprisingly yummy spinach smoothie for myself and the children :) When I first thought about making a green smoothie I was a little worried that I was going to hate it despite my want to love it but I think the whole scary thing was in my head because I do really like it *grin*.

Green Smoothie

I pack my blender right to the top with fresh spinach leaves along with a little bit of fruit, a splash of maple syrup and ice cold herbal tea. Usually I put in an apple or a pear but blueberries are delicious and soon there will be fresh strawberries from the garden to add :)

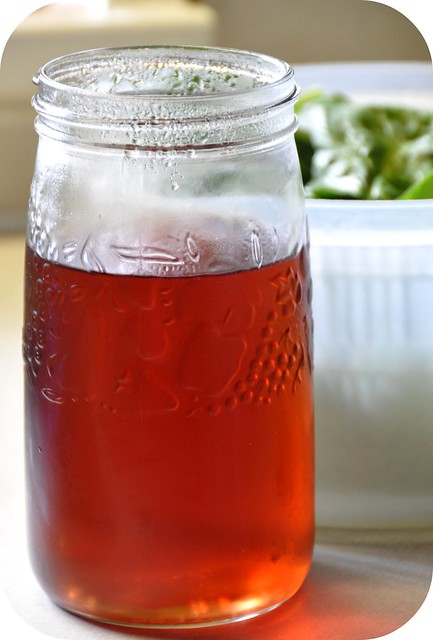
When I first started making it I was using plain water as my liquid to help puree everything in the blender but I love the extra flavor that herbal tea provides. Our latest favorite is raspberry and each morning after I've used up what was in the fridge I replenish my mason jar with hot tea and pop it into the fridge for the following morning :)

Mmm, mmm good!

I think I'm going to have to start making two blenders full though as it seems the kids want to drink more and more of it every morning *grin*. I'm not complaining though but tomorrow I'm heading out to weed out a patch in the garden so that I can plant a whole lot of spinach :)

Hugs,
Rosina


PS. Looking for more yummy recipes?? Check out this week's Hearth and Soul blog hop :)

Monday, January 17, 2011

Soaked Fruity Oats ~ Recipe

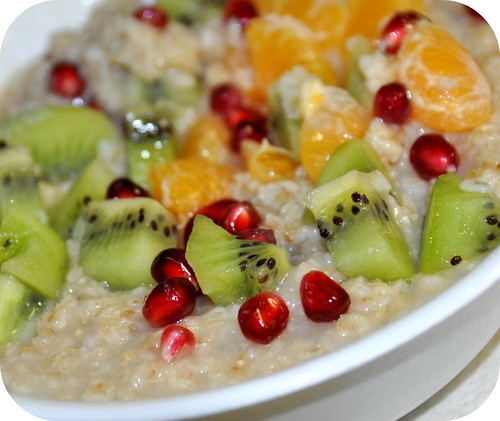
Fruity oats

Oatmeal is a main staple during the winter months and to keep the children happily munching away on it without growing tired of it I like to spice it up with fruit :) I use steel cut oats which can take considerably longer to cook than quick oats and since I usually don't beat my children out of bed I needed a fast track cooking method!

Soaking the oats the night before provides this. By popping them in a bowl with water right after dinner (so I don't forget to do it) I have soft oats first thing in the morning that cook up in a matter of minutes :) The perfect solution when surrounded by a pack of hungry monkeys as soon as my feet hit the floor each day *grin*.

You will need:

3 3/4 cups of water
1 2/3 cups of steel cut oats
(rolled oats or quick oats can be substituted)
Assortment of chopped fruit
Maple Syrup
~ Serves 4

The night before place your oats and water in a glass bowl or jar, cover and let stand until you are ready to use them in the morning. Like I mentioned above, I like to do this when I'm cleaning up after dinner so that I don't forget and then they get a chance to soak a little over 12 hours :)

When you are ready to make breakfast in the morning, transfer your oats to a pot, bring to a boil and then reduce the heat to a simmer. Stir continuously as they cook for 5 - 10 minutes. The shorter cooking time will provide a chewier texture. Remove from the heat and stir in some yummy maple syrup to sweeten it. I usually use 2 - 3 tablespoons of maple syrup and find that it is sweet enough. Pour into bowls and top with chopped fruit.

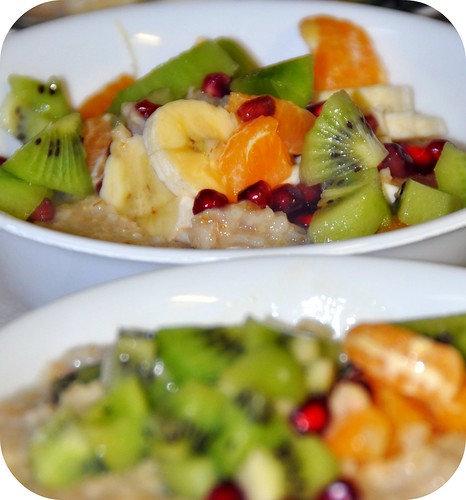
Fruity Oats

Right now we are using an assortment of kiwi, pomegranates, oranges, apples and banana :) After Christmas the pomegranates came on for a super good price so I couldn't resist buying some and since not everyone likes the same fruit I like to have a few different kinds in the fridge.

Nuts, seeds and dried fruit are other delicious additions to your oatmeal to. Oh there are so many different ways to spice up your breakfast... literally! Try adding cinnamon with your apples or a touch of pumpkin pie spice with pumpkin seeds :)

Enjoy making your oatmeal a little more exotic the next time you cook it and don't forget to sing *grin*.

Pease porridge hot, pease porridge cold,
Pease porridge in the pot, nine days old;
Some like it hot, some like it cold,
Some like it in the pot, nine days old


Hugs,
Rosina

PS. Looking for more yummy recipes?? Check out this week's Hearth and Soul blog hop :)

Monday, November 1, 2010

Preserving Fall ~ Canning Pumpkin

canned pumpkin

I couldn't bear to let our carved pumpkins go to waste so I had the kids bring them inside to me this morning and I got to work chopping them up for canning :) I just LOVE the smell of freshly sliced and grated pumpkin and this will let me enjoy this time of year just a little bit longer. There's nothing like cooking up a pumpkin pie in those dark winter days and triggering wonderful memories of fall :)
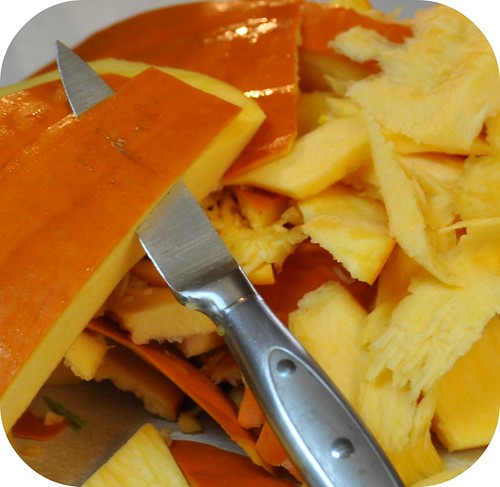
Peeling pumpkin

They have a bit of a tough skin to peel but as you get going I find that it gets easier. You start to get the feel for the right pressure you need to apply to your knife while keeping your loose fingers clear in case it slips *grin*. I'll admit it slipped on me once and it sort of give my heart a jump start! LOL.
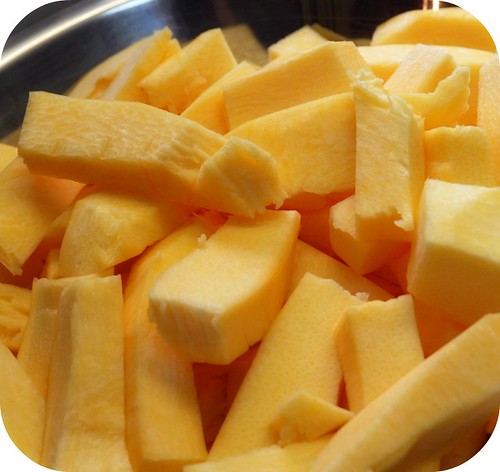
peeled pumpkin

I had already washed some of my pint canning jars in hot soapy water with a splash of bleach to disinfect them as they had been sitting in the crawl space all year so once I had all my pumpkin peeled I cut the pieces into 1 inch thick spears roughly the height of my jars but short enough to leave the 1 inch head space needed for a proper seal. What at time saver!! When it was time to pack the jars all of the spears were the exact height so there was no need to mess around trimming them to fit :)

I thought that I would share with you how I can pumpkin just in case you want to try doing it with your pumpkins to :) Pumpkins are a low acid vegetable and very capable of growing botulism if processed improperly so make sure you use a 'pressure canner' and NOT a 'water bath'.

When you have collected all of your jars, sealers, rings and have your pumpkin peeled and sliced it's time to prep you pumpkin for packing into your jars. Pre-heat your oven to 200 degrees Fahrenheit and place all of your pumpkin spears into a large stock pot and cover with water. Bring the pot to a boil and let it gently boil for a couple of minutes only. You will see that your pumpkin spears are starting to turn brighter orange as they start to cook and you only want them to be barely fork tender. You are going to pack your jars hot so even if you don't think they are quite done turn off the burner anyways because as you pack your jars the ones in the pot will continue to cook while waiting to come out.

Put on a clean pair of rubber gloves and grab a jar :) Your rubber gloves are going to be your body armor as you grab hot spears of pumpkin out of the pot and pack them in as tightly as you can vertically into your jars without mushing them. As soon as you have filled a jar, use a ladle and pour in enough of the hot water from your cooking pot to cover your pumpkin spears and make sure you still leave that 1 inch of empty head space at the top of the jar. Wipe the rim clean with a cloth so there are no bits of pumpkin where the sealer will touch and pop the jar into the oven to keep warm while you pack the rest of your jars :)

As soon as you have all of your jars filled with pumpkin and liquid it's time to get your sealers heated. I usually use Bernardin sealers which recommend that you only heat them to 180 degrees. Check the directions on your box as they may be different and if you happen to have old sealers you may find that they still say you can boil them for a full 5 minutes! I must say I sure do miss the old sealers that you could just pop in the pot and boil without worrying about over heating them *grin*. Once your sealers have been heated as directed, remove your jars form the oven with your rubber gloves on again and put on a hot sealer one at a time placing the finished jar each time directly into your pressure canner.

With your pressure canner fully loaded clamp on your lid, place it on your stove top burner, and turn the burner on high. As soon as your canner starts to 'vent' out of the steam pipe time it for a full 10 minutes and when the time is up shut the valve or place your weight on the steam pipe depending on which model of canner you have.

Process your batch at 10 pounds pressure for 65 minutes and that's it :)
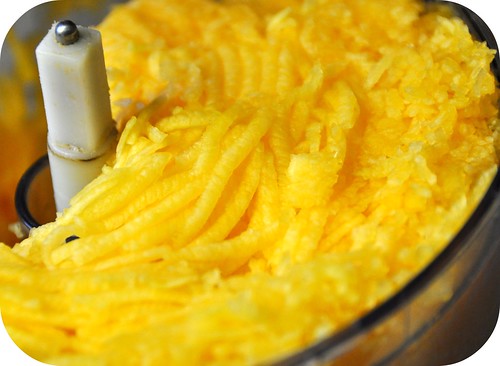
grated pumpkin

Now if you don't have a pressure canner or just don't want to do all of that work *grin* then you can definitely freeze your pumpkin! I had way to much for my canner and I only wanted to do one batch so I grated up what was left of my pumpkin.
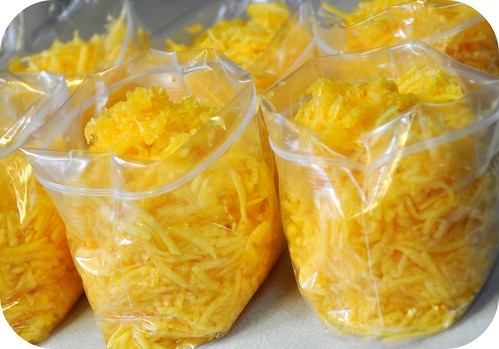
grated pumpkin

Our favorite cake and pie recipes call for two cups of pumpkin so I measured out 2 cups into each of my freezer bags so when I want to use one it will be exactly what I need :) You can also freeze pureed pumpkin, pumpkin butter and pumpkin pie filling as well.

canned Pumpkin

Three pumpkins later I have 18 beautiful pints of canned pumpkin, 6 packages of grated pumpkin for the freezer and 1 blistered finger from all of the peeling *grin*. If you have a favorite pumpkin recipe that you would like to share with me I would love to hear about it :)

Hugs,
Rosina

PS. Looking for more great recipes? Check out the Hearth & Soul Hop & Real Food Deals :)

Wednesday, June 9, 2010

Mary Mary Quite Contrary....

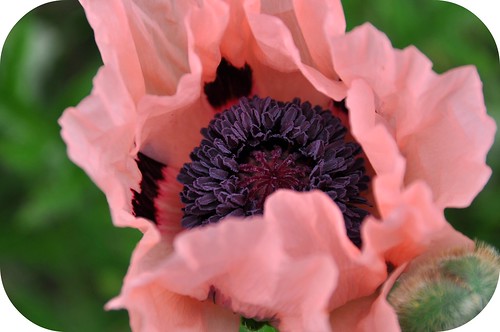
poppy

How does your garden grow?
With silver bells and cockle shells
And pretty maids all in a row.

I thought that I'd share some of the pretty blossoms that are around the yard right now :) I am completely smitten with my poppies! Their coral color and deep purple centers are stunning.

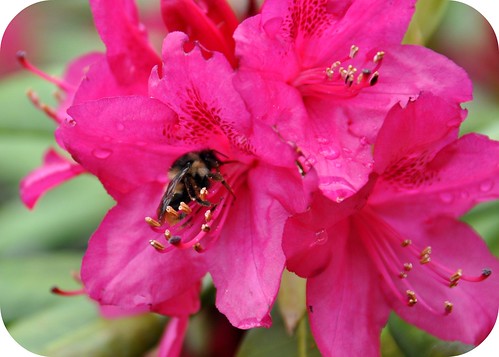
rhodo

A bee resting inside a rhododendron bloom. I think it must be hiding from the rain shower that just passed :)

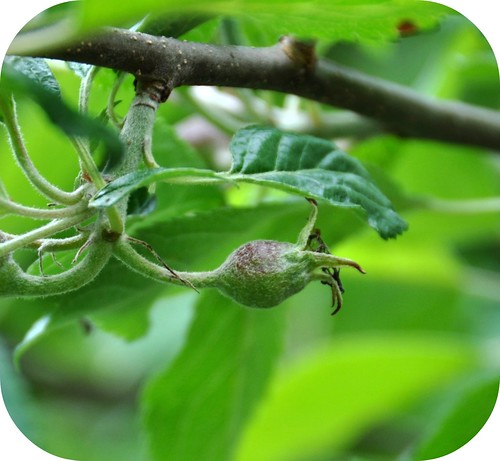
baby apple

Baby apple just starting to form.

bachelor button

A grove of Bachelor Buttons.

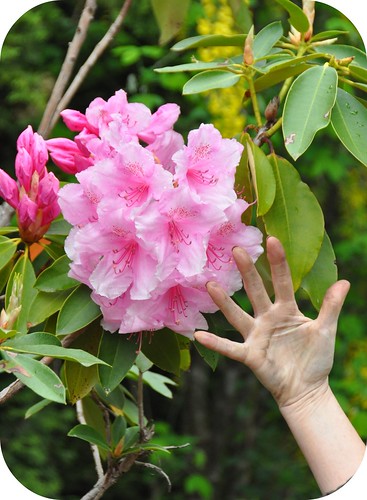
rhodo

Oh my goodness... can you believe the size of the rhododendron bloom? It's huge!

baby plums

The plums are starting to form up to and I'm dreaming of all the delicious Zwetschgenknödel I'm going to make with them :) Zwetschgenknödel is a deliciously sweet noodle with a plum center and served with bread crumbs toasted with butter and sugar. So delicious and the recipe has been passed down to me from my Omi :) I try to get a bunch of them frozen each summer but they never seem to last long. Gee, I wonder why *grin*.

What's blooming in your yard right now?
~ Rosina