How is it that I had never heard of apple nachos?!
I was reading one of my new favorite blogs, Manifest Vegan, when I came across a very interesting recipe for a fruity nacho. Hence the apple nacho name.
Apparently this recipe has been around for quite a while and I seriously must be one of the last few people in the blogosphere to hear about it! Basically it's just thin slices of apple, and then I drizzled on a wee bit of organic peanut butter, unsweetened coconut, almond slivers, walnuts and a few chipits for fun :)
In the original recipe I linked to above she uses pecans which would be awesome to and what about a few dried cranberries on there instead of the chipits? I am SO doing that next time!!
What a great snack it made for the children this afternoon when their tummies were growling and it was way to early for supper :) It's pretty healthy right? I guess maybe the chipits aren't LOL.
Okay now be honest... if you have never heard of apple nachos you have to let me know that I'm not the only one that missed out on this fun food idea *grin*.
Hugs,
Rosina
Thursday, January 5, 2012
Apple Nachos... How have we not met before?!


Thursday, October 6, 2011
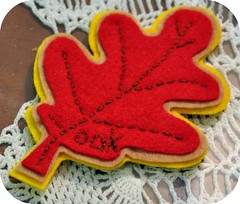
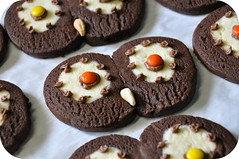
Fall Leaf Sugar Cookies
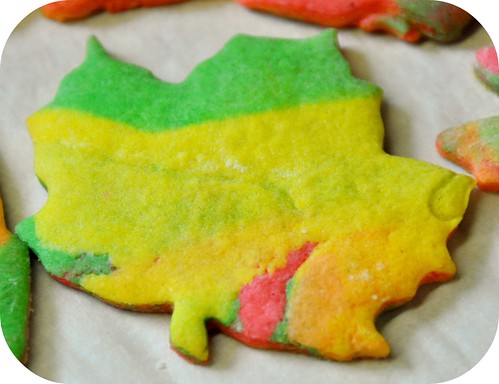
We are spending a lot of our days embracing the beauty of fall around here lately as we watch the leaves on the trees transition to their vibrant autumn colors and we happily jump on their crunchy counterparts that litter the lanes :) The children keep bringing in handfuls of stray leaves to that they just couldn't resist because they were 'to pretty' and I keep picking up crumbled bits off of the tile floor beneath our nature table as they fall apart from all of the handling *grin*.
So when I saw a photo of some great fall leaf cookies on the Country Living website I just had to bake some with the kids. The only problem was there was no recipe so I made a batch of my favorite sugar cookie dough that I use all the time and thought I'd share it with you to. It makes a nice sized batch of dough for tons of fun :)
4 eggs
2 cup sugar
2 cup unsalted butter
Cream the butter and sugar together. Add one egg at a time and beat really well until the butter mixture is super light and fluffy.
1 tsp. baking powder
5 cups all purpose flour
Add the flour and baking powder to the butter mixture and mix just until combined. Once you've got it all combined divide your dough into four chunks. Don't worry about being completely accurate, just eyeball it up.
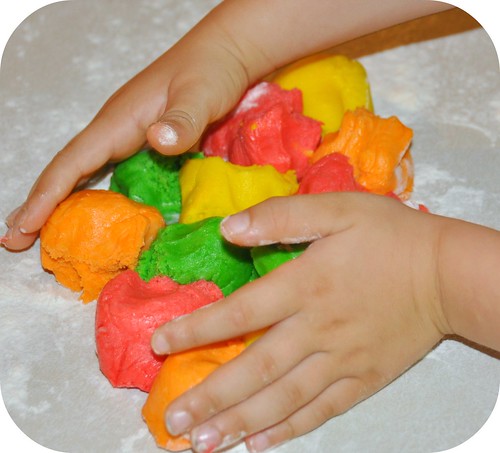
Now color each of your dough balls a different fall color :) I really like to use Wilton Gel colors. They create gorgeous vibrant colors and they are cleaner to work with than the old drip style liquid food coloring. You can find them at most grocery stores and walmart.
After you have finished adding your food coloring, wrap each piece in a bit of saran wrap and place in the fridge for about 20 minutes so that dough firms up and makes it easy for rolling later :) Roll out your dough on a floured counter top and bake in a pre-heated oven at 350 degrees Fahrenheit for 10 - 12 minutes or until just starting to brown and firm up around the edges and the centers are slightly puffed up.
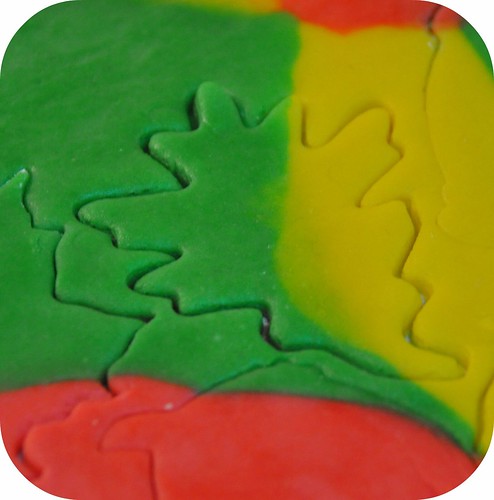
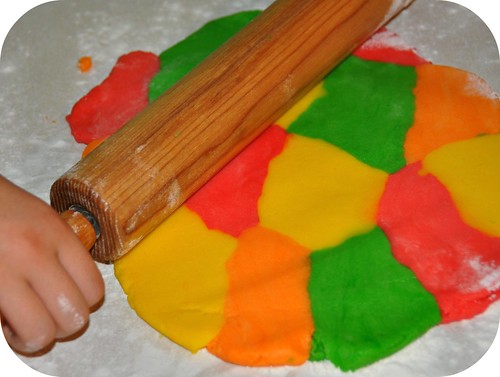
I set the kitchen up with three work stations so that each of the children had their own rolling pin, cookie cutters and assortment of colors and they had fun ripping off chunks of color and creating their own fall color palette :)
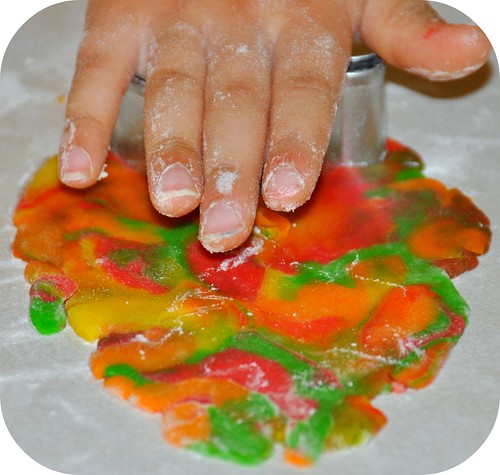
It actually turned into a color blending lesson on top of the baking fun as we watched the colors meld together creating new tones of oranges and greens and the surprise arrival of brown each time we balled up our dough scraps and rolled them out again. Things got quite psychedelic LOL.
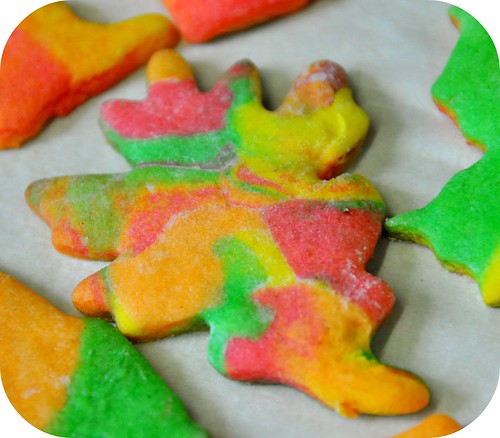
So much yummy fall fun. I can see we're going to have a lot of tea parties in the coming days *grin*.
Hugs,
Rosina
Monday, June 13, 2011
Homemade Rhubarb Juice ~ Recipe

We are still swimming in rhubarb around here as our plants just keep giving and giving :) So I thought that I would share again with you my favorite way to make a rhubarb juice which is such a wonderful summertime treat :)

The kids and I filled an entire laundry basket heaping to the top with fresh rhubarb stalks to bring into the house for stewing and of course once it is cut it's best to use it up right away so I got busy washing them up and trimming off any dirty spots.

This is so super easy to make and even if you only have a little bit of rhubarb you probably have enough to make at least one special batch :)
Cut up 6 cups of fresh rhubarb stalks into 1 - 2 inch pieces and place in a heavy bottomed sauce pot. Add 8 cups of water, 2 1/2 cups of sugar and 2 or 3 nice thick slices of lemon and bring to a boil. Once boiling reduce the heat, cover and simmer for about 15 minutes when the rhubarb has completely gone mushy.

Let the syrup cool and then strain it through a fine mesh sieve into a jar. You will have a gorgeous pink liquid and you can eat the boiled rhubarb to! The stewed rhubarb is so sweet and tasty that the children love to eat it warm straight from the sieve :) Usually there isn't a stitch of mushy rhubarb left when we're done but since I made so much this year I shared it with the dog and the cow *grin*.

I got some great new jars this spring to that I couldn't wait to use and this seemed to be the perfect time. They have rubber stoppers that you clamp down tightly and we've filled them quite a few times with rhubarb syrup to take along camping with us or for a picnic by the pond.
The rest of the juice I canned in my mason canning jars and some of it I froze as well. If you want to can the rhubarb juice all you need to do is wash up some of your larger canning jars and pour the boiling hot juice straight from the pot after you've strained it into your jars and then screw on your lids with your canning seals heated up just like if you were making jam :) So far I have about a dozen quart jars to last us through the winter and 7 wine bottles full in the freezer. It's going to be so much fun to be able to pull them out in the dead of winter and enjoy a little bit of spring :)
To finish off your yummy rhubarb juice you can mix 1 part syrup with two parts water or for a fizzy spritzer you can use a sparkling water like Pellagrino instead plain water for a real treat. Personally that's my favorite way to drink it and it is so refreshing on a hot day.
Have fun making some of your own!
Hugs,
Rosina
PS. Looking for more yummy recipes?? Check out this week's Hearth and Soul blog hop :)
Thursday, January 13, 2011
Maple Snow Candy ~ Recipe


You will need
1 cup of 100% Pure Maple Syrup
Make sure that you use pure maple syrup and real butter or it won't turn out properly :) Place all three things into a saucepan and place over medium heat, making sure that you stir constantly. This is very important as you don't want to accidentally burn the maple syrup. Keep boiling and stirring until your thermometer reaches a temperature of 220 degrees Fahrenheit. Remove the pot from the heat and let it sit for a minute or two and then find a nice clean patch of snow and pour :)


Enjoy,
Rosina
PS. Looking for more crafty ideas or inspiration? Pop over to Natural Suburbia's Creative Friday and see what others are up to :)

Friday, December 17, 2010
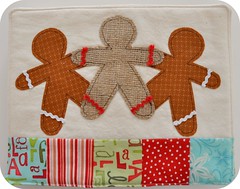
Gingerbread Love
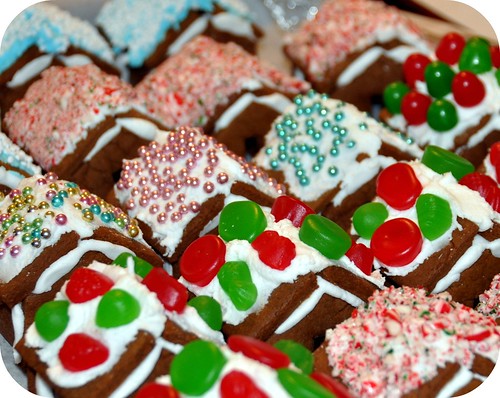
Remember those adorable mini gingerbread houses I linked to a while back? Well I finally got a chance to make them and they are even cuter than I imagined!!
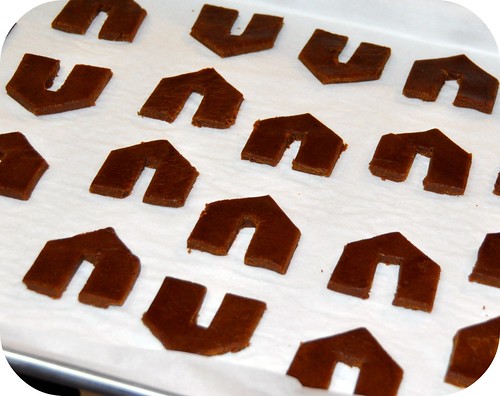
I must have spent a good portion of my morning hand cutting all of the doors, walls and roofs but it was surprisingly enjoyable *grin*. And the house smelled amazing with the scent of ginger, cinnamon and cloves. Those have to be some of the most festive holiday scents along with fresh cut cedar boughs :)
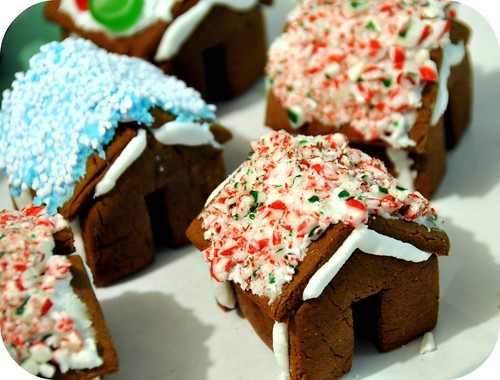
Even though some of my pieces were not exactly square the completed houses went together perfectly with the aid of the royal icing. Gotta love that stuff! It's so thick that you can mold it like putty and with the heat of the woodstove blazing beside us they dried within minutes :)

It was to late tonight for us to perch them on a hot mug of cocoa and nibble on their candy roofs as it was nearly bedtime but we sure are going to enjoy munching on a few of these this weekend :)
Did you get a chance to make some to? I'd love to have a peek at how you decorated yours :)
Hugs,
Rosina


 Click the Instagram link above to follow me :)