Showing posts with label sugar cookie. Show all posts

Thursday, October 6, 2011

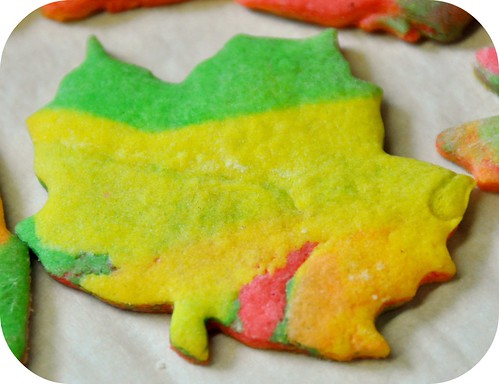
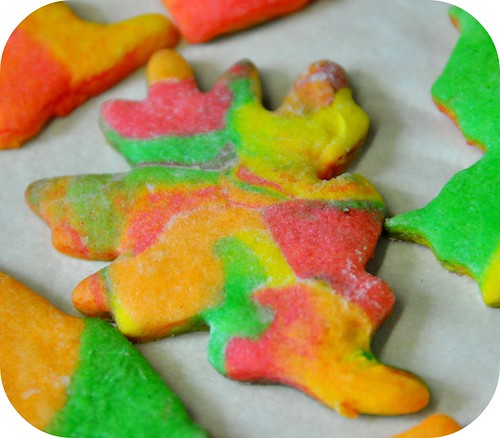
Fall Leaf Sugar Cookies

Fall Leaf Sugar Cookies

We are spending a lot of our days embracing the beauty of fall around here lately as we watch the leaves on the trees transition to their vibrant autumn colors and we happily jump on their crunchy counterparts that litter the lanes :) The children keep bringing in handfuls of stray leaves to that they just couldn't resist because they were 'to pretty' and I keep picking up crumbled bits off of the tile floor beneath our nature table as they fall apart from all of the handling *grin*.

So when I saw a photo of some great fall leaf cookies on the Country Living website I just had to bake some with the kids. The only problem was there was no recipe so I made a batch of my favorite sugar cookie dough that I use all the time and thought I'd share it with you to. It makes a nice sized batch of dough for tons of fun :)

Fall Leaf Cookie Dough

4 eggs
2 cup sugar
2 cup unsalted butter


Cream the butter and sugar together. Add one egg at a time and beat really well until the butter mixture is super light and fluffy.

1 tsp. baking powder
5 cups all purpose flour

Add the flour and baking powder to the butter mixture and mix just until combined. Once you've got it all combined divide your dough into four chunks. Don't worry about being completely accurate, just eyeball it up.

Fall Leaf Sugar Cookies

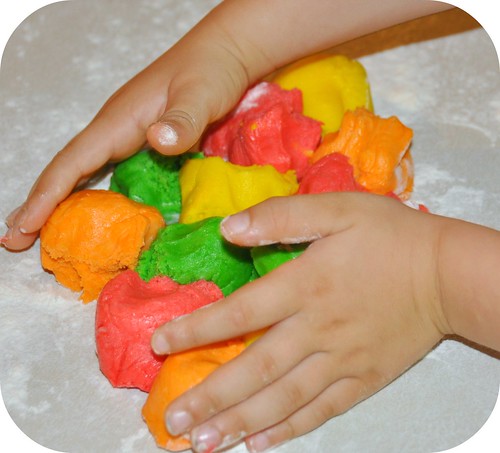
Now color each of your dough balls a different fall color :) I really like to use Wilton Gel colors. They create gorgeous vibrant colors and they are cleaner to work with than the old drip style liquid food coloring. You can find them at most grocery stores and walmart.

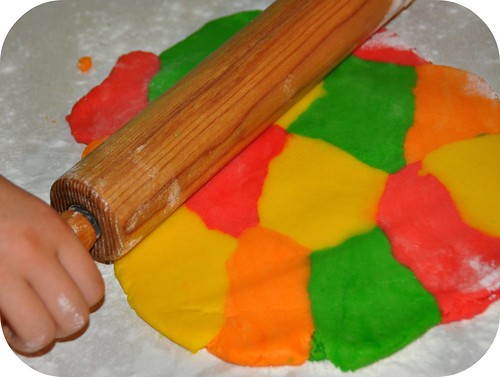
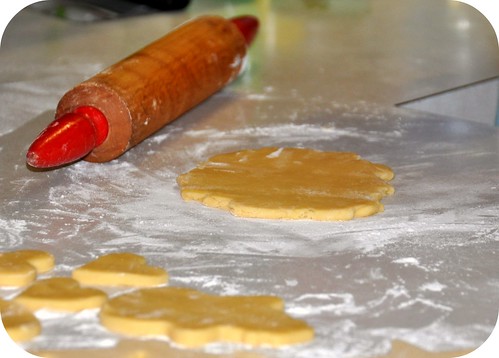
After you have finished adding your food coloring, wrap each piece in a bit of saran wrap and place in the fridge for about 20 minutes so that dough firms up and makes it easy for rolling later :) Roll out your dough on a floured counter top and bake in a pre-heated oven at 350 degrees Fahrenheit for 10 - 12 minutes or until just starting to brown and firm up around the edges and the centers are slightly puffed up.

Fall Leaf Sugar Cookies

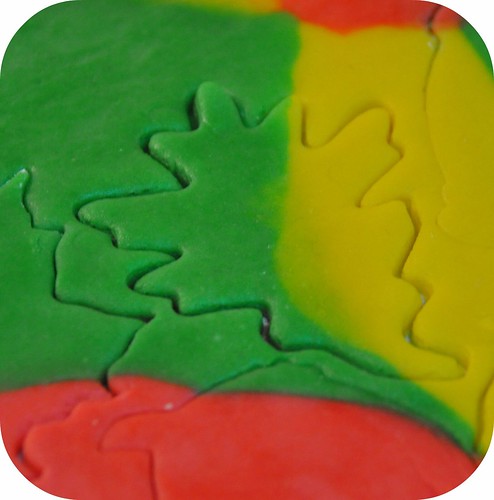
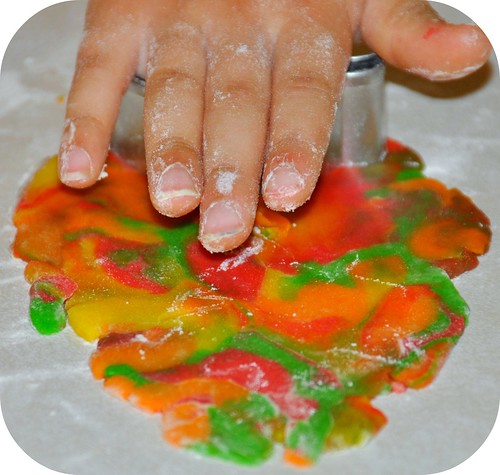
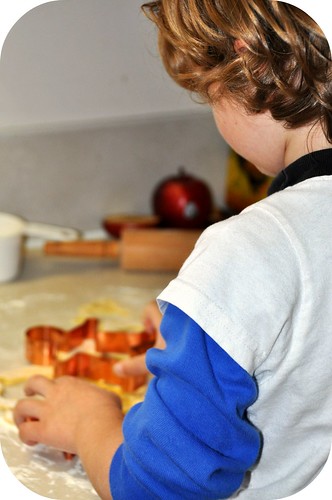
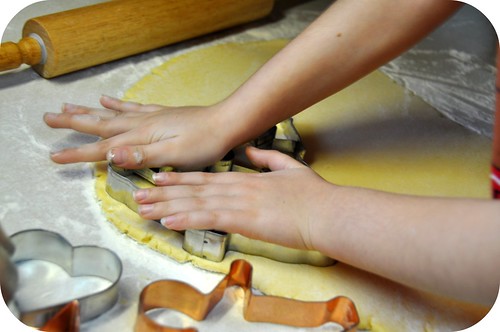
I set the kitchen up with three work stations so that each of the children had their own rolling pin, cookie cutters and assortment of colors and they had fun ripping off chunks of color and creating their own fall color palette :)

Psychedelic

It actually turned into a color blending lesson on top of the baking fun as we watched the colors meld together creating new tones of oranges and greens and the surprise arrival of brown each time we balled up our dough scraps and rolled them out again. Things got quite psychedelic LOL.

Fall Leaf Sugar Cookies

So much yummy fall fun. I can see we're going to have a lot of tea parties in the coming days *grin*.

Hugs,
Rosina

Monday, February 14, 2011

Happy Valentine's Day

Happy Valentine's day

Happy Valentine's Day!!

We celebrated valentine's day yesterday, a day earlier because my daughter had a date with the dentist again today. So we thought it best to have our party ahead of time so that she could really enjoy it :)

Yummy

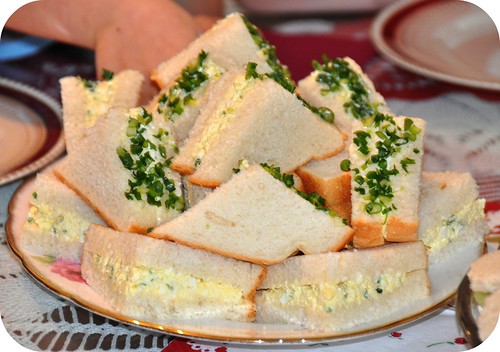
We had egg sandwiches and little cucumber and cream cheese tea sandwiches, asparagus rolls, ants on a log (the kids love these)....

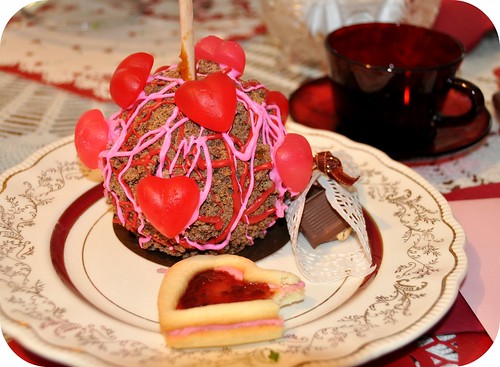
Valentine Treats

and of course loads of yummy sweets :)

Valentine Treats

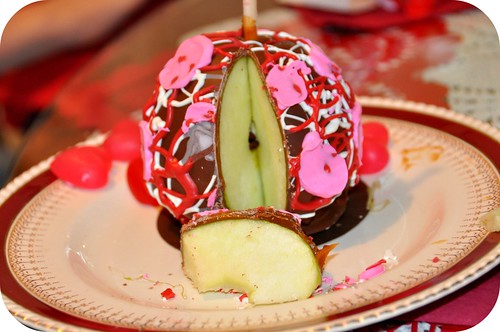
My special treat for the kids was one of the yummy-licious candy apples that the Rocky Mountain chocolate factory makes :) When we were in the city on Friday I took them all into the shop and let them stand in front of the giant glass case full of them and let them pick any one their hearts desired *grin*.

You should have seen them agonizing over which one looked like it was going to be the very best one to take home LOL.

Valentine Candy Apples

A sweet treat for such a sweet day :)

Hope you all had a wonderful valentine's day to :)

Hugs,
Rosina

Saturday, February 12, 2011

Valentine Sugar Cookies

Valentine Hearts

We're getting ready for Valentine's day and making special treats :)
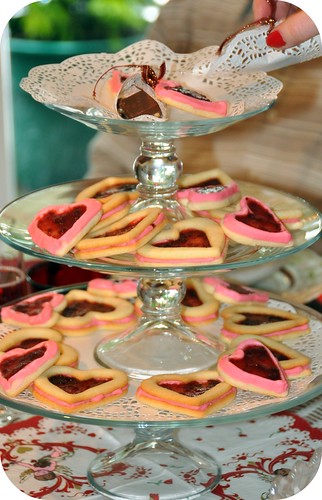
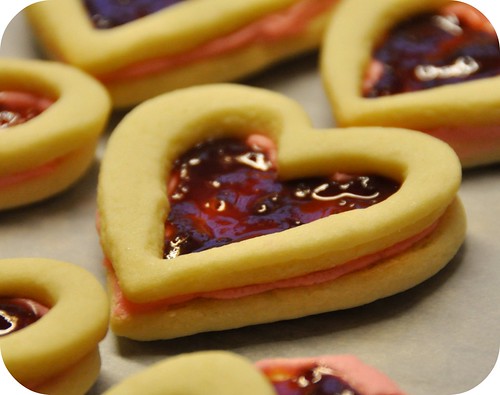
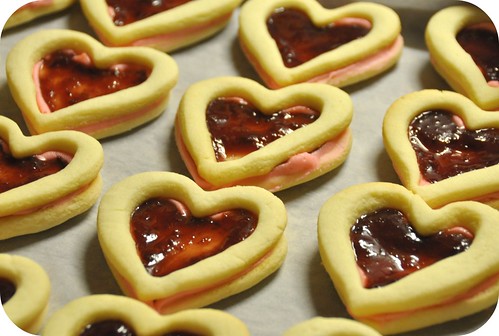
We always make a heart shaped cookie for our party and this time we made sugar cookie sandwich hearts with a yummy jam center. So good! I only know this because there may have been a little bit of taste testing going on as they were being made *grin*.

Let's Get Cracking

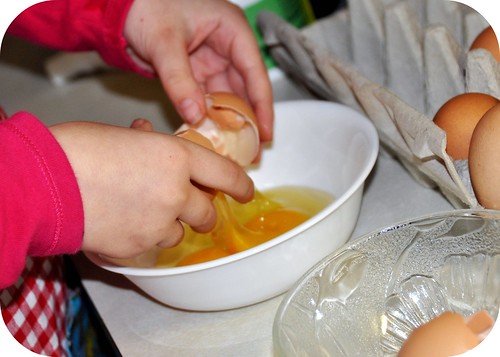
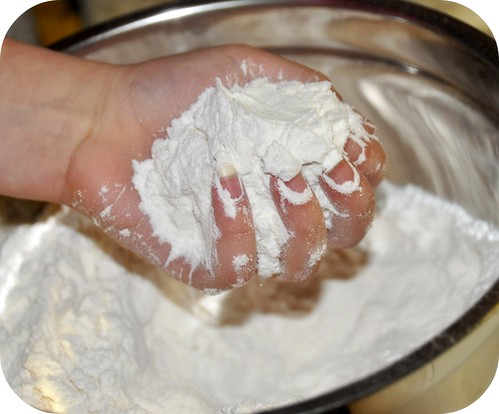
L was all ready to get down to business and had her new little apron that she made tied on and her hands washed even before I could ask her to do anything :) She loves to crack the eggs for me and run her hands through the flour *grin*.

Flour Fun

I used my favorite sugar cookie recipe but halved the batch this time so that we didn't end up with mountains of cookies. You will need:

3 eggs
1 cup sugar
1 cup unsalted butter
1 tsp. vanilla
1 tsp. baking powder
2 1/2 cups all purpose flour

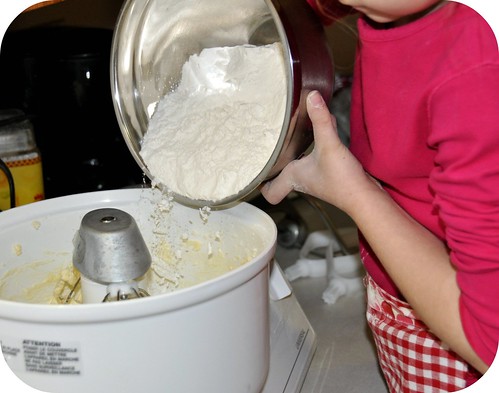
Cream the sugar and butter together and add in your eggs and vanilla beating until everything is light and fluffy looking.

Making cookies

Add your flour and baking powder and mix until just combined. Turn out your dough onto a sheet of waxed paper and top with another sheet of wax paper so that you can press down on your dough flattening it out towards the perimeters of your paper and then place it your fridge to chill so that when you pull it out again it will be nice and easy to roll and cut out your hearts on :) Bake at 350 degrees Fahrenheit for about 8 - 10 minutes or until your cookies are just browning on the bottom edges.

Heart Cookies

We used two different sized heart cookie cutters to create the tops of the cookies and then we ran a line of icing around the edge of the bottom cookie to create an icing dam so that our plum jam wouldn't squeeze out when we sandwiched the two layers together :) I make my jam without pectin so they are always a little bit runny and the icing works perfectly to keep everything in it's place *grin*.

I had to hide them out in the garage tonight to keep the kids from asking for more and so that I wouldn't sneak into the kitchen and nibble on them for a midnight snack LOL. I have terribly weak will power!

Hugs,
Rosina

Wednesday, December 15, 2010

right now, I AM

right now, I AM

....failing miserably at fighting off temptation!!

Mr. Snowman

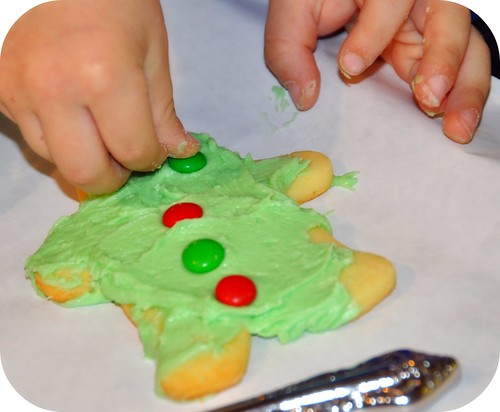
Today I made mass amounts of icing for the children to decorate their sugar cookies with :) Oh what fun we had with sticky fingers, red and green m&m's and sprinkles. At one point my 4 year old was nearly naked as he had so much icing stuck to his shirt that we had to remove it LOL.

Cookies Galore

But now I have been left alone with an unguarded stash of the sweet little cookies and I'm having an awful hard time not taking a nibble every time I pass through the kitchen!

I am SO weak *grin*.

Hugs,
Rosina


right now I AM
Click the frog to learn more!

Monday, December 13, 2010

Rolling Dough

sugar cookie dough

It was a wonderful day here today full of squishy cookie dough, floury fingers, cookie cutters and rolling pins :)

It was so nice to just pull out the chilled dough that I had made yesterday and let the children go to work. Usually we would mix up a batch and then it would have to be refrigerated and everyone would be anxiously waiting to begin but today it was instant fun.

Making cookies

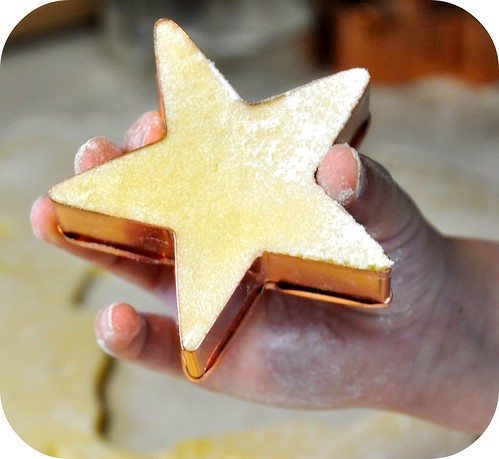
I set up three stations on the kitchen counters for them so that they each had their own rolling pin, cookie sheet and tons of cookie cutters to use :)

Cutting out cookies

Star

We ended up with nearly 5 dozen cookies in all shapes and sizes. Some we ate, some are in the cookie tin and quite a few are in the freezer *grin*. We have visitors tomorrow so Wednesday looks like it will be the perfect day for phase two... icing! That always makes for some interesting messes *grin*.

Hugs,
Rosina

Sunday, September 26, 2010

Guardians of Ga'Hoole ~ Owl Cookies

owl cookies

Yesterday I surprised the kids with a special outing into town to watch the new animated movie The Guardians of Ga'Hoole based on the book series by Kathryn Lasky and to get a chance to see a real live owl!! The MARS (Mountainaire Avian Rescue Society) was at the theater to do a little talk all about owls and what their rescue society does and they brought along 'Shakespeare' a Barred Owl who is their educational ambassador. The kids loved it! Both the owl and the movie :)

As soon as we returned the home the kids began pretending they were owls and so far it hasn't stopped *grin*. So I thought it would be fun to make some owl cookies and owl masks to keep on with the owly fun!
owl cookies2

I had ran across a picture of owl cookies on craft gossip but they were made from store bought sugar cookie dough and since we don't have anything like that readily available here I thought that it would be just as easy to whip up a batch of sugar cookie dough :)

So here it is... the make your own dough version of it *grin*.
Trust me if you can make cookie dough and know how to wield a rolling pin then this is going to be easy LOL.

4 eggs
2 cup sugar
2 cup unsalted butter

Cream the butter and sugar together. Add one egg at a time and beat really well until the butter mixture is super light and fluffy.

1 tsp. baking powder
5 cups all purpose flour

Add the flour and baking powder to the butter mixture and mix just until combined. You don't want to over mix or it will start to turn your dough tough. Once you've got it all combined, scoop out roughly 1 third of the dough into a separate bowl. Don't worry about being completely accurate, just eyeball it up. This is going to be the center of you owls eye :)

Now add
1 cup unsweetened cocoa
to the remaining 2/3 of your dough and mix until the cocoa is blended in evenly. This is going to be the outer part of your owls eye.

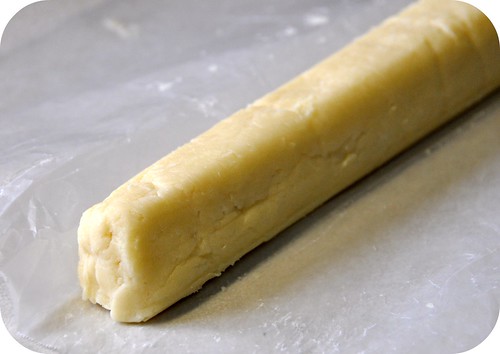
Now comes the fun part of shaping your plain white dough into a big snake shaped log. On a piece of wax paper, saran wrap or a non stick silicone mat (whichever you have will work) roll and squeeze your dough outwards in a log shape until it is about 18 inches long. By the time I had the length my roll was about 1 1/2 inches in diameter. As soon as you have finished wrap your log in saran wrap or wax paper and place on a flat surface in your refrigerator for about 10-15 minutes to firm up so you can handle it without worrying about dimpling or breaking it.
owl cookies

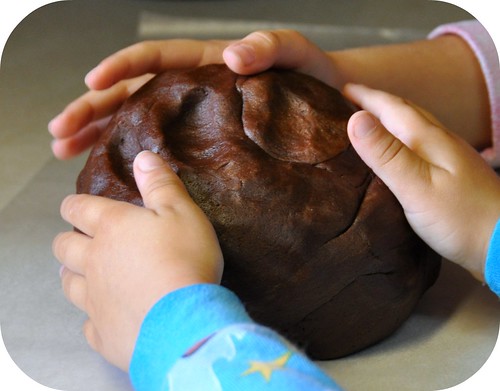
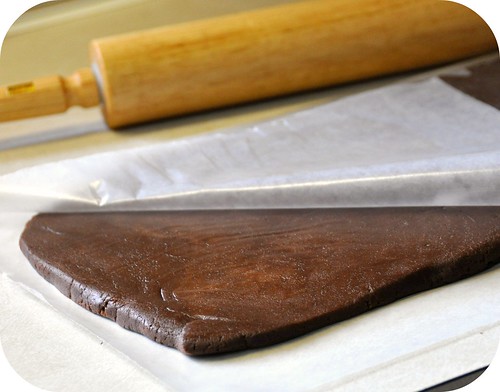
Next is to take your chocolate colored portion of the dough and shape it into an 18 inch long by 8 inch wide rectangle. Of course the kids couldn't resist squeezing and squishing the dough so this was a perfect job for them *grin*.
owl cookies

We did it on another sheet of wax paper and then I put an additional piece on top and ran the rolling pin over it to take all of the humps and bumps from the hand prints out of it :) Do not refrigerate this portion of your dough. You want it nice and soft for the next step!
owl cookies

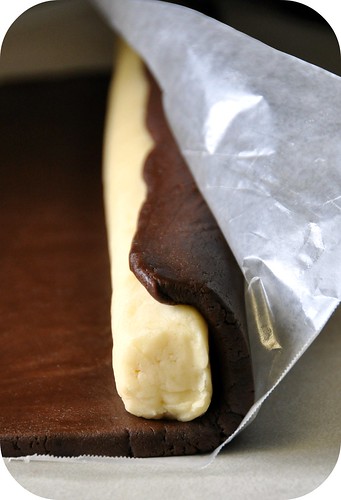
Your log of white dough should be firm enough now to take out of the fridge now. Unroll it and place it on top of your chocolate rectangle and you are going to roll the chocolate layer around the white just like you were rolling up cinnamon buns :) Use your wax paper on the bottom of the chocolate layer to keep your hands from getting sticky and to aid in the smooth rolling of it. Don't worry it is definitely not hard to do and once it is all rolled up you can roll the whole log around on the counter in the wax paper a couple of times to make sure the two layers stick together nicely and you get a nice round shape. Place the entire log in the refrigerator for about 15 minutes to firm up again.
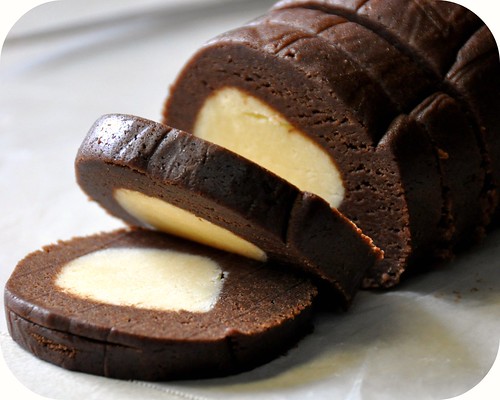
owl cookies

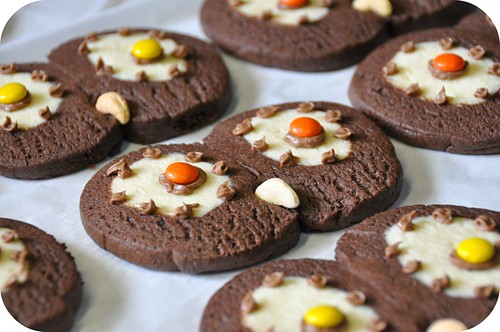
Now that you have one multicolored log of sugar cookie dough you're ready to put your owl faces together! Take your knife and slice off rounds of your dough roughly 1/4 - 1/2 inches thick...
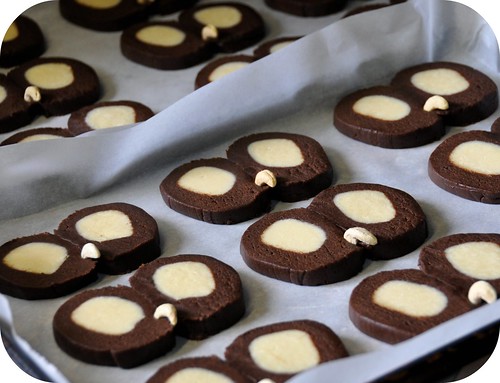
owl cookies

and place in pairs on your cookies sheet. Make sure that the two pieces touch each other in the center and you will find that there will be a slightly flat side on each of your rounds caused by the pressure of cutting your log on the counter so place those flatter sides together in the middle :)

For the beaks use unsalted or raw cashews. Press them into the lower part of your center seam leaving the pointier part of the cashew out of the dough so that it looks like a hooked owls beak. Bake in a pre-heated oven at 350 degrees fahrenheit for 10 - 12 minutes or until just starting to brown and firm up around the edges and the centers are slightly puffed up.
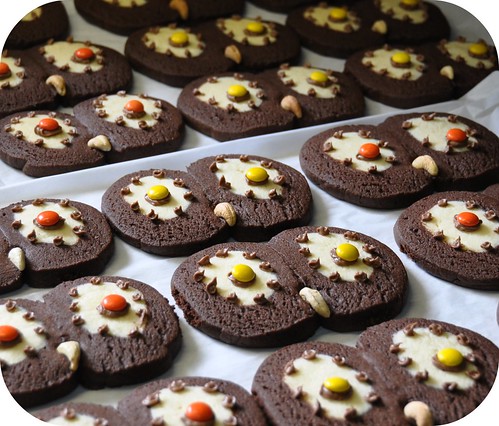
owl cookies

As soon as your owl faces are cooled you can use your favorite icing recipe or frosting from a can if you like *grin* and add your eyeballs and lashes. I used reeses pieces because we had them on hand but you could use smarties or m&m's if you like to.

Just in case you want to know what my icing recipe is it's a simple butter frosting of 1/4 cup of butter and 1 1/2 cups icing sugar beat together with 2-3 tablespoons of milk until it comes to a squeezable consistency that you can squeeze through your piping bag. Another super quick way to create your chocolate icing would be to melt chocolate chips or bakers chocolate squares in a heat proof bowl. This works really well in a pinch *grin*. Another tip is if you don't have an actual piping bag you can use a regular ziploc baggy and just cut off one of the bottom corners and voila you have an instant piping bag :)
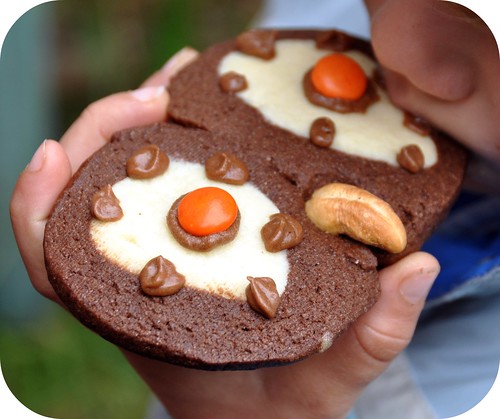
owl cookies

This recipe made 24 big owl faces and I hate to say it but we've eaten half of them already! LOL.

Sooooo good and super cute :)
Have yourself some owly fun to!

Hugs,
Rosina