Showing posts with label dress up. Show all posts

Sunday, April 1, 2012

Easter Bunny Masks

DSC_0099

My daughter totally loves to dress up. Full length princess gowns, ballerina tutus and hand me down halloween costumes from her cousins. She especially loves all sorts of masks but somehow I don't think her hairy beard and moustache disguise or her bandit masks are going to cut it on the Easter scene. I was going to have to come up with something new and preferably of the 'bunny' variety *grin*.

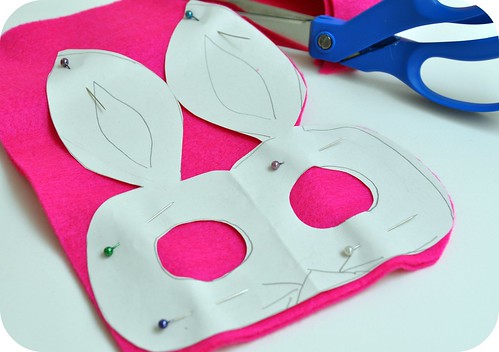
So what I did was take one of her old masks and traced through the eye holes on to the center of a plain piece of paper so I got them spaced pretty much where they needed to be and then just winged it and drew some bunny ears and a simple face shape to go with the eyes. A little trick to getting both sides of your drawing symmetrical when you're finished drawing your pattern is to fold your paper in half so both halves of your drawing are back to back and then pick your favorite side that looks the best and cut out your pattern while folded with the good side up so you end up with both sides exactly the same :)
Ear Stability

After pinning my pattern onto some felt and cutting out two pieces for our bunny mask I had some worries that the ears might flop over my daughter's eyes when she was wearing it because they were so narrow where they met the rest of the mask.

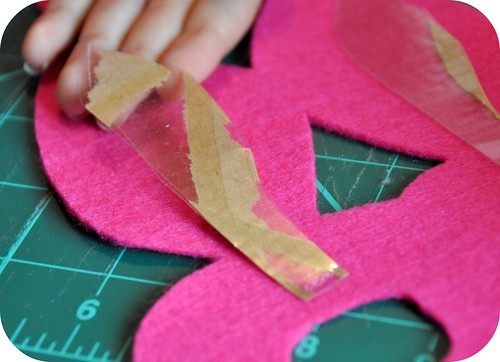
So to remedy that I sewed in pieces of stiff clear plastic onto the ears on the inside back layer of the felt, putting in a few stitches at the very bottom of the plastic. I also made sure that I placed the plastic far enough down close to the eye holes so that it wouldn't still flop because it wasn't far enough past the brow line of the mask. The plastic we used came from some of those 'windows' they put in some boxes. That's why there are still some strips of cardboard leftovers still stuck to them :)
Going Slowly

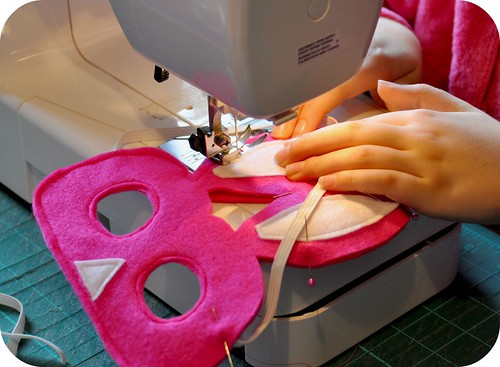
With the ears reinforced, I sewed on some contrasting white for the centers of the ears, added a little triangle nose and some elastic to keep it on her head and then pinned the front and back pieces together to finish sewing it together which I fully intended to do until L asked to do it herself. Of course I said yes! I love that she wants to join in and do more and more sewing. Her growing confidence in herself and her budding skills are so heartwarming to this crafty mama :)

So slowly and surely she made her way around the mask keeping a close eye on her seam allowance and getting a good lesson on how to maneuver curves *grin*. She did an awesome job and kept it darn straight. Atta girl!
Bunny Mask

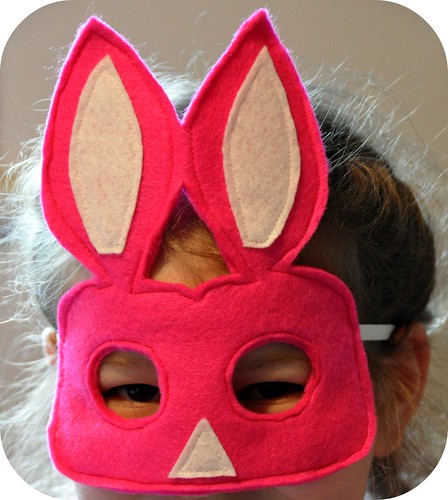
With the threads snipped my little girl transformed into a fuzzy little bunny and promptly hopped away LOL.

I wish I knew how to take my paper pattern and turn it into a PDF for you! Maybe someone reading this will be able to share the secret with me *grin*. And in the meantime I hope you'll grab your pencils and whip up your own bunny version :)

Hugs,
Rosina

Saturday, March 26, 2011

Kimono Sewing and Geta

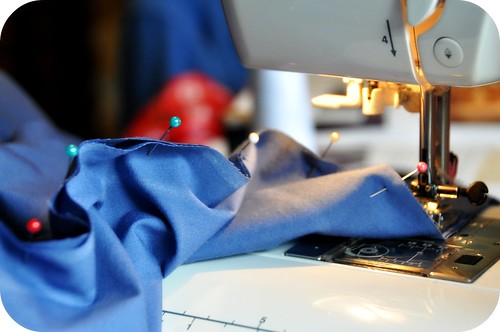
Sewing

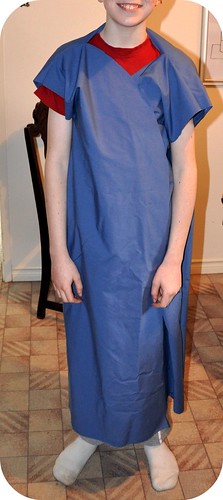
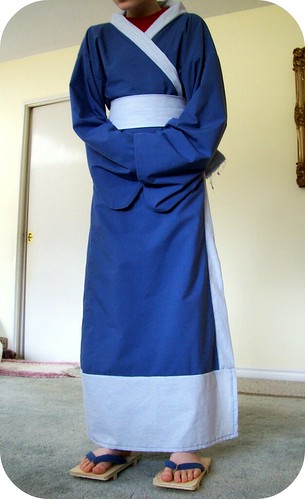
It was so nice to pull my sewing machine out this week and listen to it hum along. K has been working very hard on his big research project all about Japan and to go along with his big presentation I thought it would be great if he could dress up in some traditional clothing making it more interesting for the other kids.

In the works

We had a few crafty books as part of his project that showed how to make zen gardens, theatre masks and among the projects was a very rough idea of how to make your own Kimono.


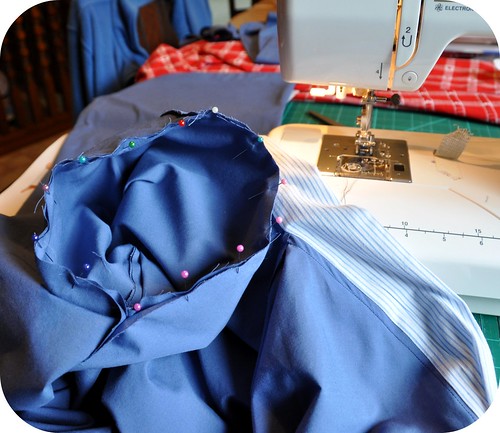
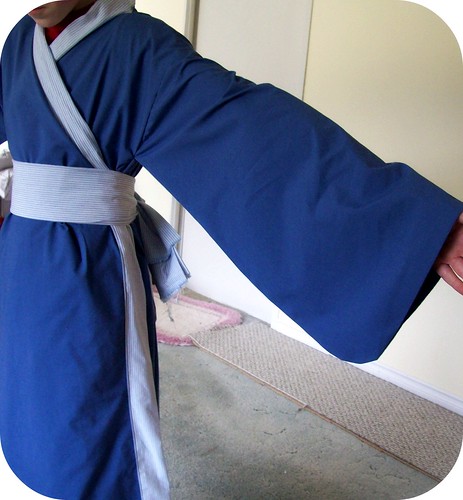
Making a Kimono

When I say rough, I mean rough *grin*. Just a few thumbnail sized photos and a couple of suggestions on how to create the basic body shape but the actual cutting, measuring and getting the sleeves to fit in was a bit trickier. It sure makes a guy have a greater appreciation for those little pattern markings that show you exactly how far to sew and where to attach pieces!

Making Geta

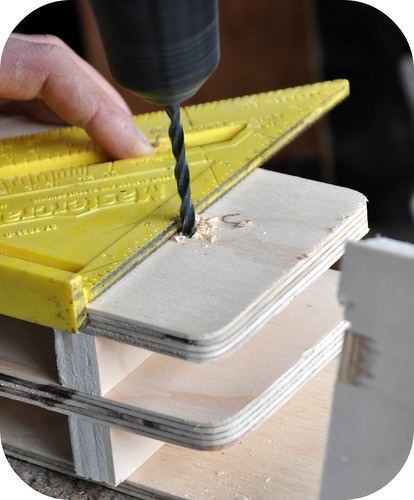
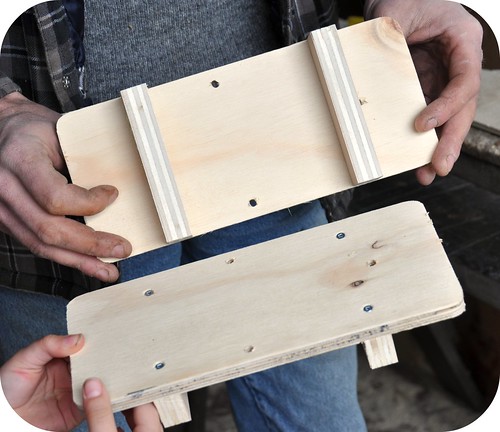
While I fiddled around with the finishing touches on the Kimono I rounded up Hubby to do a little woodworking for us and create the wooden bases for a pair of Japanese Geta.

Making Geta

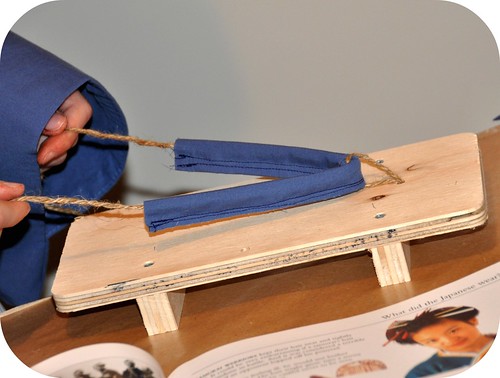
Geta are wooden shoes with a raised platform bottom. They were traditional Chinese footwear that were later adopted by the Japanese and were especially useful in the winter and rainy times to keep their feet high up off the ground so that they stayed dry.

Geta

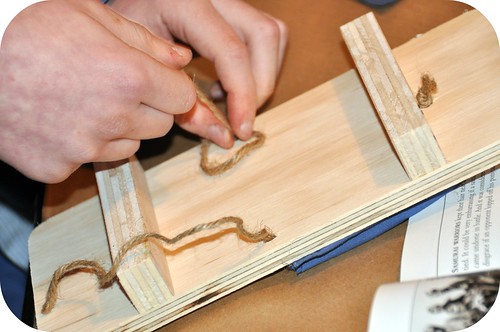
The top of the shoes were a basic cloth sandal style so after Hubby made the base he drilled in some holes so that K could create the straps.

Geta

He used jute and some of the scrap fabric from the making of his kimono and he was so pleased with how they turned out :)

Kimono

Actually he was quite thrilled with the whole outfit *grin*

For a twelve year old boy he still loves to dress up LOL. Albeit it is usually in a pirate costume like Jack Sparrow off of the Pirates of the Caribbean but he was having quite the time getting the hang of walking around in the restrictive kimono and tipsy shoes :)

Kimono

I think it all turned out rather well :)

I spent $1.50 at the good will for the two sheets and we had the scrap wood on hand already and we created an entire outfit *grin*. What have you been creating this week? I'd love to stop by and see :)

Hugs,
Rosina

Friday, January 22, 2010

Pink Pearls & Fur For Your Baby

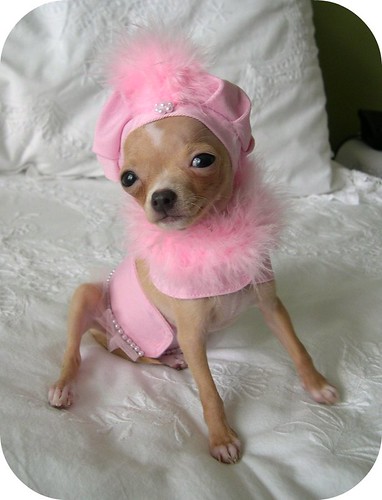
Paris in Pearls & Fur

I was going through old photos tonight and I came across my pictures of the dog clothing that I used to make and sell for the mini breeds like chihuahua and papillons :) Above is precious 'Paris' modeling one of my pink pearls and fur coat and hat sets. Isn't she adorable?!

I had so much fun making all sorts of different dress up outfits. It's hard to believe that most of them were custom jobs and all I had to work with were measurements that owners sent to me and I would sew furiously creating their clothing all the while praying that it would fit just right! *grin*

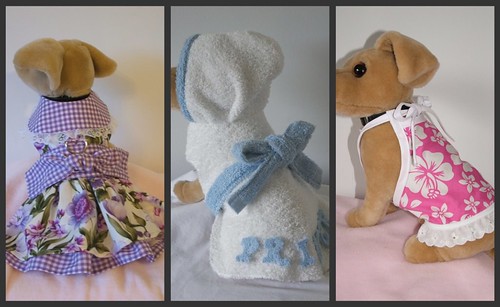
Mini Outfits for Chihuahua's

I must say no one was ever disappointed so I was definitely doing something right! LOL. Here are more of my creations that I found in my old photo files. There were full length dresses with wrap around sashes, summer halter tops and I even made bathrobes that I would customize with your babies name appliqued on the bottom hem :)

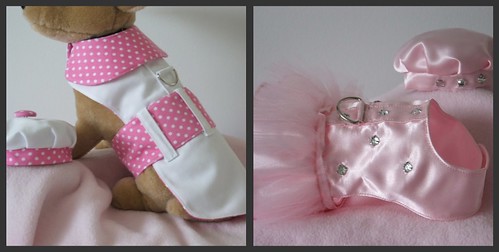
More mini outfits for Chihuahua

I think these two were my favorites though. The pink polka dotted one had a peter pan color and thick belt, and it was fully lined with the pink dot fabric. While the tutus were trimmed with rhinestones and finished with poofy tuille and satin tutu tufts :)

There were about 20 different styles and I made sure that I kept one of each of them *grin*. In my craft closet is a little tote with all of these little outfits, miniature sunglass goggles, and rhinestone necklaces that I would accessorize with.

What do you think... when I'm ready to use them again will they be in style? Haha, my husband thinks I'm a complete fruit cake for even entertaining the idea of dressing up my dog, but those little ones just look so cute in pink pearls and fur :)

~ Rosina