Showing posts with label burlap. Show all posts

Friday, March 7, 2014

A Swap Just For Mama

Not very often do I get a chance to have a surprise from a complete stranger arrive in my mailbox full of amazing goodies just for me. So when I heard about the blog swap that Sweet Potato Claire was hosting I thought it would be so much fun to send a gift to a very deserving Mama somewhere here in Canada and to have a little something come back to me as well.


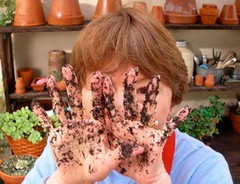
I couldn't have been more blessed by the package that I received today. As I opened it a wonderful aroma of lemon grass wafted out and inside the little polka dot pouch were three silver tins of healing salves and lotions. A lemongrass body butter, green tea healing hand salve and a lip balm. Each one made with organic oils and essential oils. Oh my how I needed the healing hand salve for my winter hands!

Fingerless Gloves

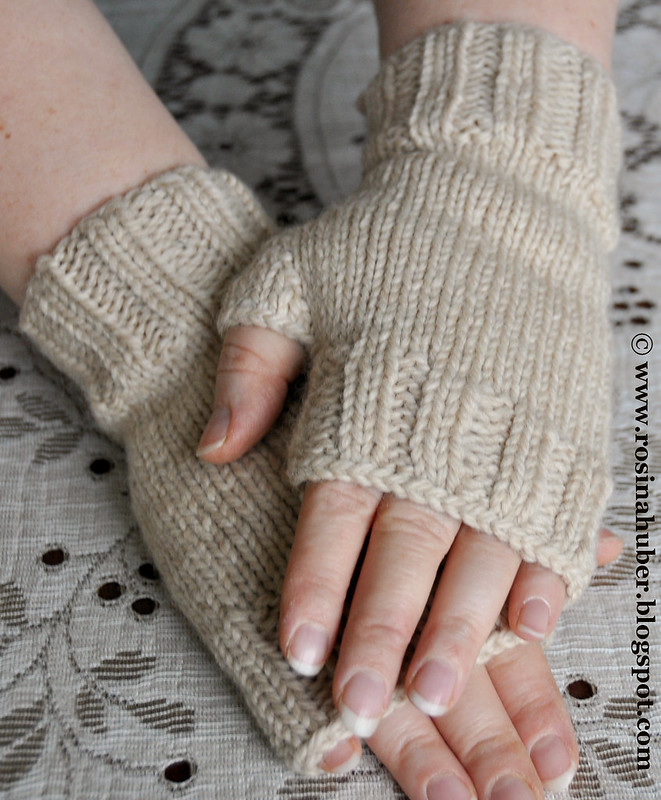
That wasn't all though. There was one more little package and inside were a wooly and warm pair of fingerless gloves. You know I have knitted similar gloves for my daughter, cousins and even my mom but I have never made any for myself so they are going to be well loved and used :)

Thank you so much Kim!! I am going to use every last drop of cream you gave me. You have truly blessed me with your thoughtful gift.

Being that no one knows who they are going to get their goodies from I think it is safe to share on here what I made for the lucky Mama that I got.

Apron

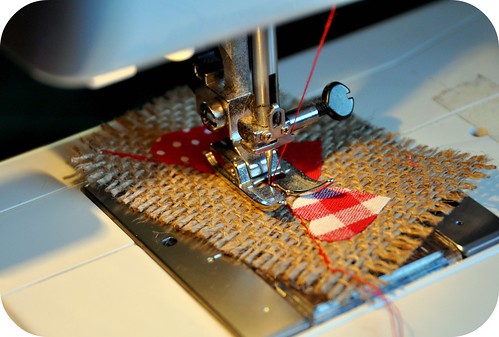
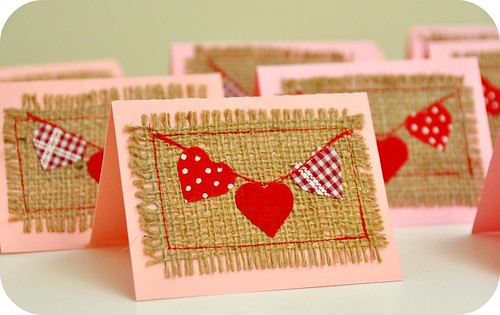
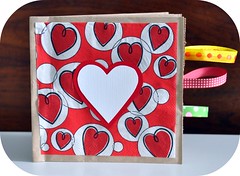
I have been a busy little girl sewing her a flirty apron...


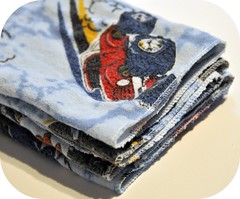
and one of my favorite burlap market bags with a little coin pouch. I sure hope she likes it :)

Heard of any handmade swaps lately? I would love to know about them.

Hugs,
Rosina

Wednesday, February 8, 2012

Mini Heart Bunting Valentine Cards & One For You

Valentine Heart Bunting Cards

Each year the kids and I have fun making valentine cards to give away to friends and family and in addition to this we decided that it would be fun to participate in a valentine card swap this year as well that will provide us with oodles of mail which is just plain fun anytime.

What I hadn't anticipated was making 38 cards! Yes, that was definitely more than I ever could have imagined but creating things with the kids is always fun :)

Sewing Mini Bunting

I love making bunting and my daughter always wants to use my sewing machine so I thought I'd combine the two together and so our little mini heart bunting cards came to life :)

We started by cutting out little rectangles of burlap fabric slightly smaller than the face of our cards and pulled out a few threads from each of the sides to give it a frayed appearance. Then between the two of us we traced over 120 miniature little hearts onto the paper side of some Heat n Bond paper that we would later iron onto an assortment of red fabrics.

With our hearts traced, ironed onto our fabrics, cut out and then permanently affixed to the top of our burlap rectangles in a semi circle formation it was time to get stitching!

Mini Heart Bunting

Using a nice bright red thread my daughter stitched on the string for our bunting so that it no longer looked like our hearts were just floating all alone finishing the mini heart bunting...

Sewing

And then she took each of the finished burlap rectangles and stitched each of them to the front side of each of our little note cards. So much more simpler than mucking around with glue and then waiting for everything to dry! Plus getting to use mama's sewing machine is always such a treat :)

Valentine Heart Bunting Cards

I just love how they turned out with their little red stitching from the sewing machine and I was so happy that my daughter had so much fun sewing them. Originally I thought that she would maybe make it through half of the cards we had to make but she just wanted to keep sewing and sewing which actually turned out to be a good thing because we now have extras to share with you!

So if you or your children would like a little surprise Valentine card sent to you in the mail just let me now in the comments below and make sure you leave me a way to get in contact with you for your address :)

The first five commenters will have one personally sent to you by my happy heart stitcher *grin*.

All of the Valentine cards have now been spoken for :)

Hugs,
Rosina

Tuesday, February 7, 2012

I've Got A Teenager!!

Hamburger Cake

On Monday my son turned 13!!!
I can't believe I have a teenager in the house already. It sort of makes me feel old *grin*. On Saturday he had a couple of friends over for the day and we had his big cake, party food and presents and on Monday the actual day of his birthday we kept it pretty low key. I made his favorite meal of hamburgers and as a joke I stuck a candle in the top of one of the burgers and sang happy birthday to him as I brought it out to him for lunch :) You should have seen the grin on his face. I'm actually looking forward to his teenage years as it brings a whole new set of experiences and he is such a great kid that it can only get better :)

Valentine Cards

Today we all worked on our Valentine's day cards that we are making for a swap we are participating in. My daughter traced out hearts on some heat n bond paper and then we transferred it to the burlap rectangles above which are going to make the front panel of our cards.

I just LOVE all of the red fabrics and can't wait to show you how they turn out. Last year we made cute little handprint heart cards and we shared our extras with some of you lovely readers and we're going to do it again! So make sure and check back as I will have 5 of our new cards ready to hit the mail just for you :)

Hugs,
Rosina

Sunday, November 20, 2011

Gingerbread Snack Mat

gingerbread snack mat

With the snow falling outside and the cold temperatures I've been feeling really festive which is perfect because I have some holiday sewing that needs my attention *grin*.

Holiday Fabric

I started going through my holiday christmas fabrics and found an adorable charm pack of Kate Spain's 12 Days of Christmas and a bunch of other scraps and started cutting little 2.5 inch squares to make a cute quilted border for a set of gingerbread men snack mats I've been wanting to make. With all of my squares cut I sewed strips of 5 blocks together using a quarter inch seam and then sewed it onto a 6.5 x 10.25 inch rectangle of natural unbleached muslin.

I can't claim this idea as my own though as I actually saw a photo of it on Flickr first but for the life of me I can't find it again to share a link to the original. So if you know who created this first I would love to know so I can give them credit :)

Heat & bond

Then with a little paper gingerbread man that I had traced from a cookie cutter I copied him over and over onto the backing of my Heat N' Bond ultrahold that was going to be my glue for my applique work. This stuff is great for quick and easy applique projects :) Just iron it onto your fabric, cut and place it on your project and iron once more for a secure stick.

I love the natural look of the muslin and wanted to incorporate burlap into my mats to but burlap tends to unravel if it isn't stitched down well and washing can be tricky but I was crossing my fingers that the heat n' bond would do the trick. So I did a little test patch taking a chunk of burlap, gluing it onto some scrap cotton and it stuck on like a hot damn. Oh my goodness, that burlap is not going to move!

Gingerbread Men

So with all of my little men positioned on my snack mat tops I took a dry iron to them and set them permanently in place. Just to be on the safe side I did topstitch all of them though so that they would make it through a round or ten in the washing machine *grin*.

With the addition of a little bit of adorably cute mini ric rac for their icing they were complete and ready to be sandwiched between a layer of organic wool batting and an 8.5 x 10.25 inch rectangle of muslin that created the backing to my snack mat. Using a 1/4 inch seam I stitched all around the outside leaving roughly a 3 inch opening at the bottom so that I could turn the whole thing right side out to be pressed and finished off with a topstitch all around the perimeter :)

Gingerbread Snack Mat

I just love how they turned out and can't wait to make a few more because these ones were actually destined for a seasonal swap the kids and I participate in and are already wrapped up and on their way down to the US where they will be swapped around with other wonderful goodies and in return we will have a new little box full of all sorts of homemade goodness just in time for the holidays. I can't wait :)

Have you started your holiday sewing yet?

Hugs,
Rosina