

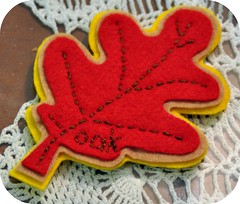
Whenever I have pastry made for baking I always have this urge to make little hand pies with it but I never follow through thinking it's going to be way to much work fiddling around with them. Not long ago though when I was grocery shopping I found this cute little mold for making apple shaped hand pies that would be just perfect for using with the apples we had left from picking and I knew my daughter would love it to :)
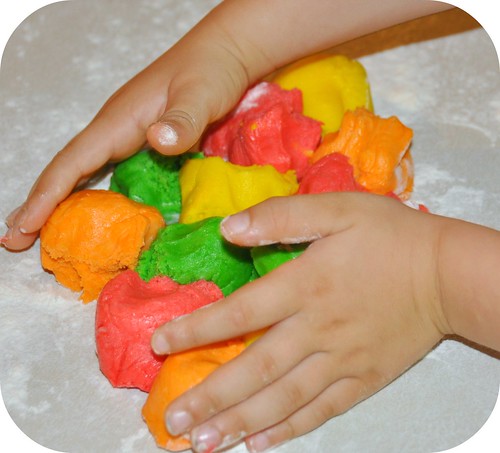
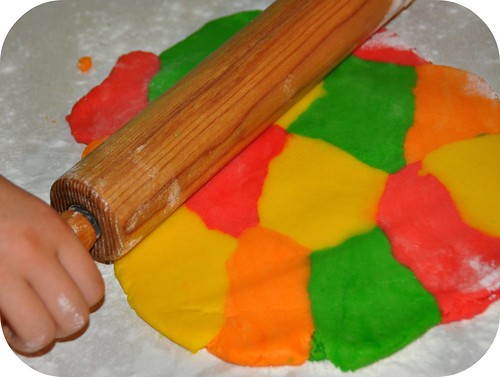
With our chilled pastry and floured rolling pins in hand we started rolling and placing our dough in the press.

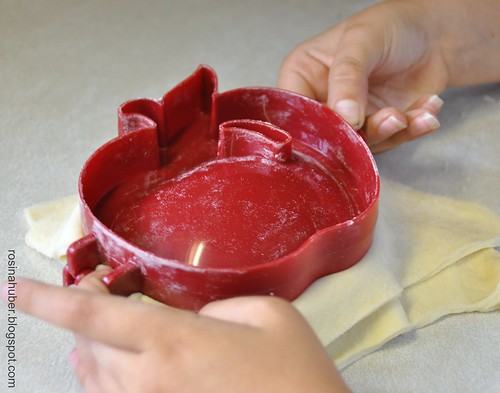
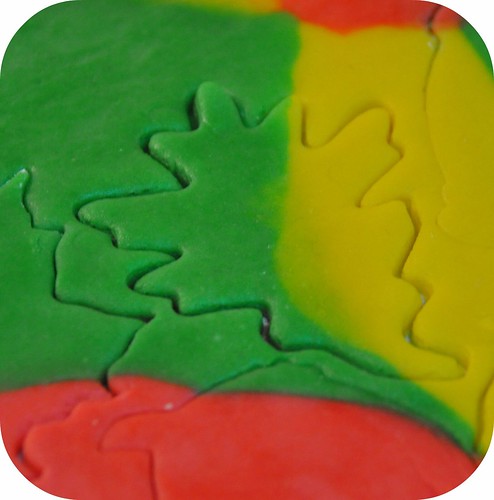
Why do these little things always look like they are going to make the job so simple but it's never quite so?! The instructions said to use the outside of the press like a cookie cutter to get apple shaped pastry pieces that you then laid inside with the filling and pressed together to make your hand pie.
Of course this totally didn't work when the pastry started to slide into the indentations on the inside of the press while needing the strength of He-Man to make the crimped edges show up. All this was definitely giving me flashbacks to a pierogi maker I tried using years ago that squeezed all of the filling into a doughy balloon that got stuck in the crack of the press making an awful mess *grin*.
Needless to say we tossed those instructions in the trash can! LOL.
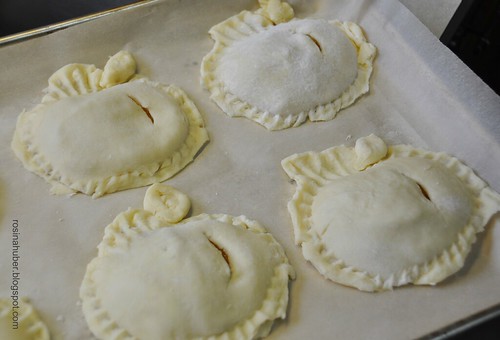
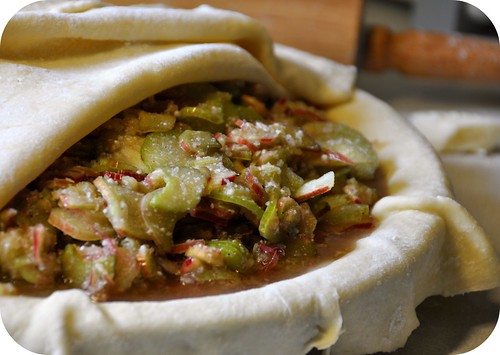
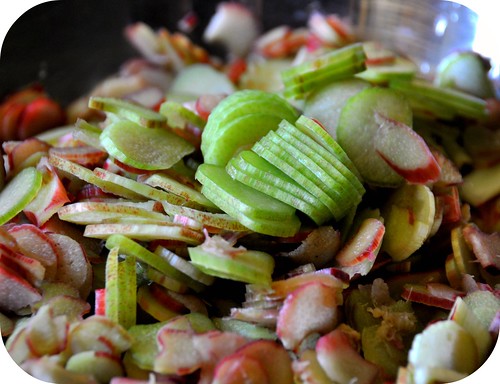
In the end we just cut our pastry into rectangular shapes and layered them in the press with our sliced apple filling sandwiched in between and it worked out so much better :) L rolled and filled while I pressed them as hard as I could until we ran out of pastry.
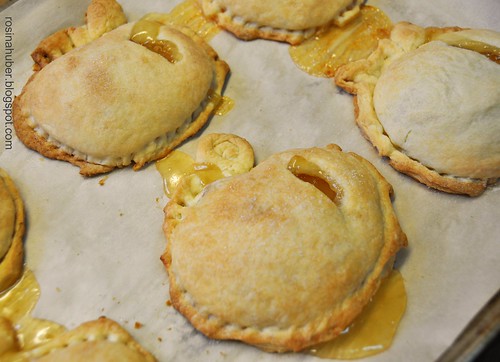
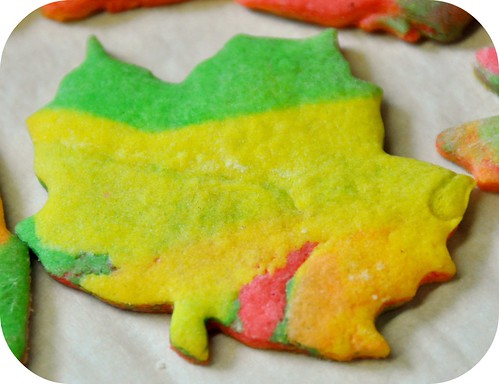
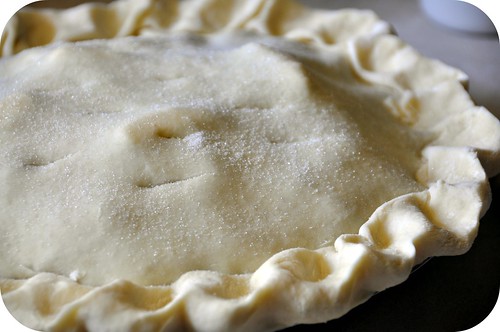
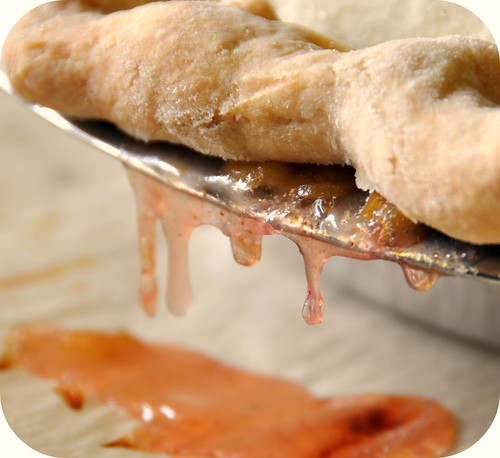
Oh my goodness were they delicious!!! We sprinkled a bit of cinnamon sugar on top before baking them and when they came out of the oven and cooled enough so that we could hold them they were nice and firm and the perfect treat for a chilly fall afternoon.... not sure how soon I'm going to attempt making them again though *grin*.
Hugs,
Rosina


