Tuesday, May 8, 2012
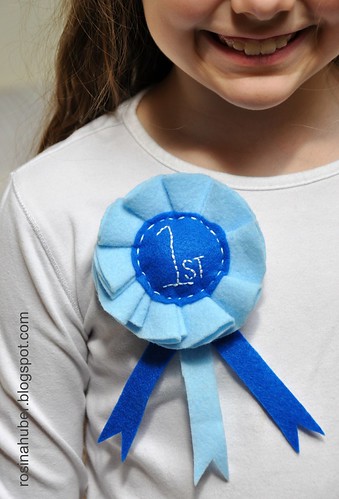
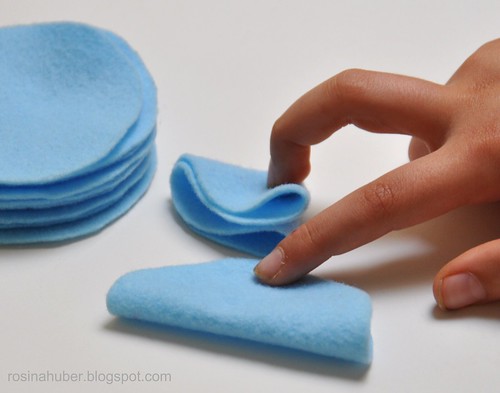
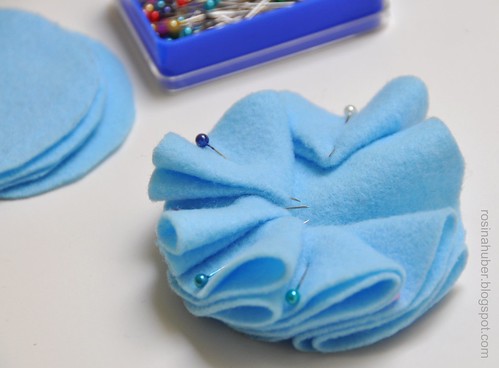
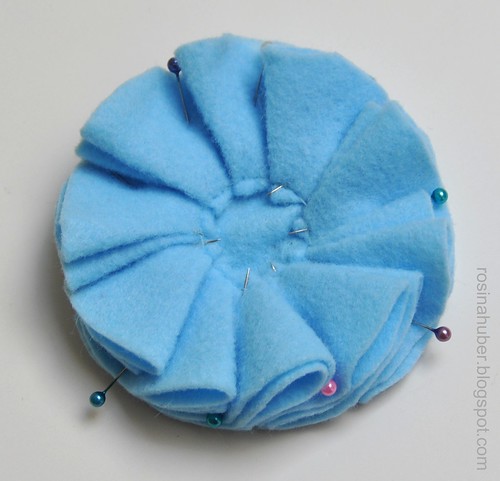
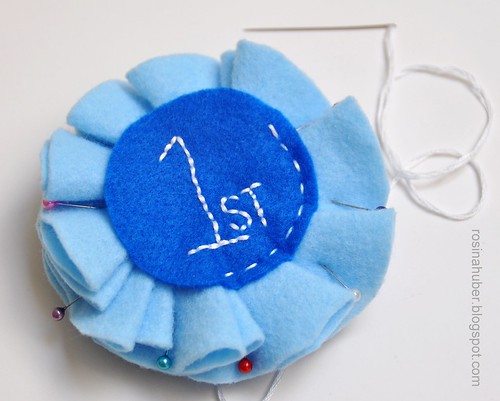
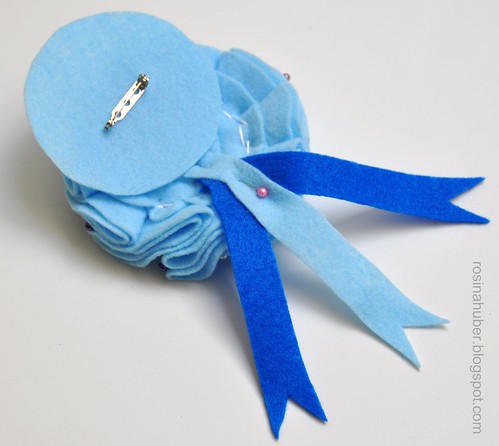
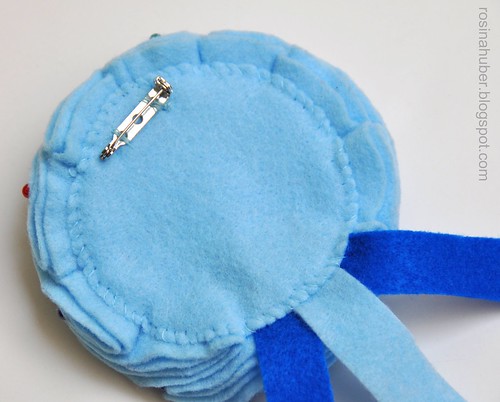
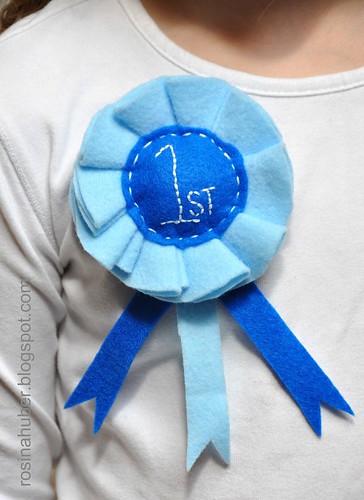
Blue Ribbon Rosette ~ Tutorial
Friday, December 2, 2011
Counting Down

The magic of the Christmas season is building at our home :)
Yesterday I bundled up the children, grabbed a hand saw and we all headed out for a little trek in the frosty fresh air. I love to keep everything a secret so they had no idea what their mama was up to except that I needed them to spot a nice thick tree limb that we could cut down for something special *grin*. When they finally decided that a nearby maple tree had the nicest limbs, my oldest cut off one for us to bring indoors.
You can just imagine the puzzled looks on their faces when I proceeded to hang it up with a couple of ribbons below the mantle over our fireplace....
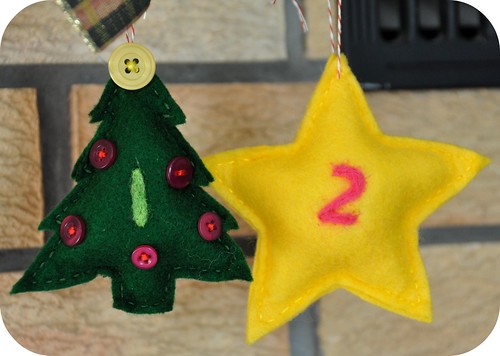
but it all started to make sense when I pulled out the very first little felt decoration with a number one on it for them to hang :)

The maple limb is going to hold each of our little stuffed creations that make up our advent calendar this year :)
In previous years we have occasionally had those store bought calendars where the doors pop open to reveal a little chocolate and some really sweet paper ones with Christmas scenes beneath each little flap but this time I wanted to use one that we made ourselves.
The children helped sew and stuff some of the decorations and others I made after they went to bed so they would be a surprise and to number each of the decorations I needle felted the numbers onto the fronts of each one free hand using some pretty colored corriedale rovings that I have. I can't wait until a few more days have passed to see them start to line up all down the maple limb :)
I don't think I have been this excited about the holidays in quite a few years and I have quite a list of little crafts to make and special outings to take each day with the children as we grow nearer to the 24th :)
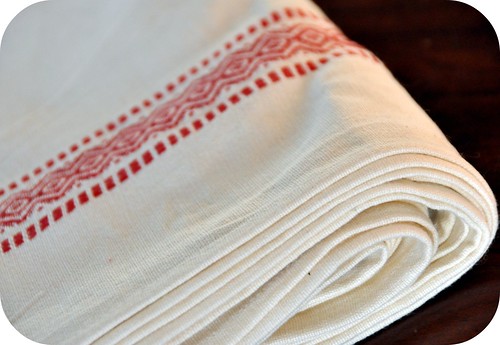
Our favorite Christmas books have been pulled from the shelves and placed within easy reach with more coming that I've ordered from the library and I pulled out the pretty linen with its red Scandinavian border in the above photo from my special stash for sewing a table runner to be placed on the coffee table beneath our advent candle holder and manger scene. The mantle is ready for fresh greenery and paper snowflakes and soon I think our tree will make an appearance to *grin*.
Hugs,
Rosina
Tuesday, February 9, 2010
Valentine Paper Bag Books
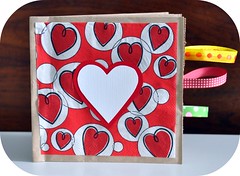
We're seriously obsessed with Valentine crafts this year! Today we made super easy paper bag books and filled them with little love notes :)
If you have never made a paper bag book you've got to try it and they can be used for scrapbooking, homeschool projects, personalized for special gifts like our Valentine's book and so much more. Basically all you need is standard paper bag lunch bags and a stapler. After that it's up to you as to how fancy or simple you want to make them.


We took 3 paper bags, stacked them all on top of each other with the open ends all at the same end and then folded them in half like one giant paper from top to bottom creating a little booklet. To secure them together I used my stapler and put 3 staples parallel to the fold down the length of the book.
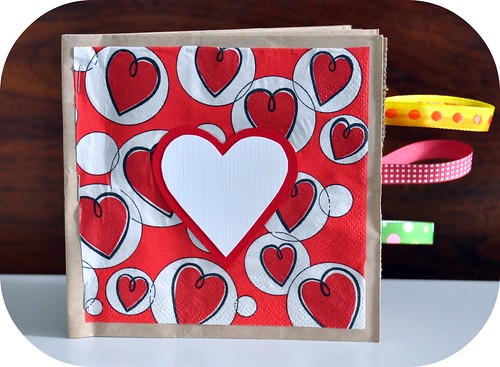
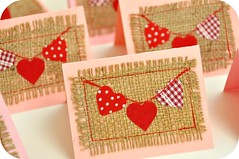
I really cheated for the front of the book *grin*. The pretty red heart paper that it is covered with is actually a napkin! We picked them up at the dollar store for our upcoming Valentine's party and I opened one fully and cut off a square, gluing it on for the background. Worked out fabulously layered with the little red & white heart for the title of the book!!!
Gotta love cheap crafting *wink*.

Making heart templates using one of our cookie cutters we traced 5 hearts in white cardstock and 5 hearts in the red cardstock. I made sure to cut the red heart out about a 1/4 of an inch larger than the tracing line so that it would create a nice color contrast behind the white heart.
We glued in each of the layered hearts only on the left hand side of each set of open pages so that it created fun little spaces to draw happy pictures :)

A paper bag book made with 3 bags will create 3 little pockets on the edge of your book for hiding little notes or trinkets inside. Since ours is a Valentine booklet we decided to use the little pockets for love notes *grin*. Taking a sheet of white cardstock I cut it up into 3.5" x 4" rectangles and then we stapled on bright colored ribbons to the narrow end of the rectangle creating a little pull tab for our notes.
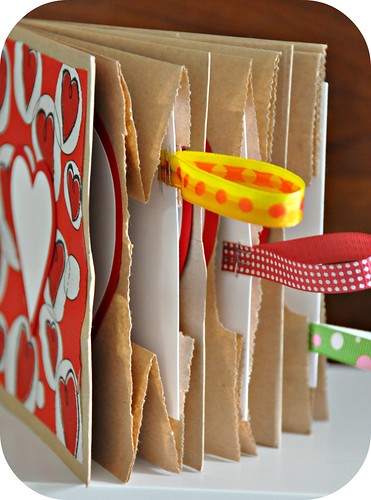
I just love how cute it turned out with the staggered ribbons hanging out the side of the book. And if I think it's cute then you know my 6 year old is over the moon with how it's coming together! LOL

The final touches were for her to actually write her little love notes to be tucked inside :) I helped her by writing down the sentences she wanted to write and then she copied them herself onto the card stock.
You'll have to wait to see her finished drawings on the little heart frames inside as they are 'top secret' and mama is not allowed to see them until Valentine's Day *grin*. Have fun making a little booklet of your own!
~ Rosina
Monday, June 1, 2009
Memories of a Typewriter
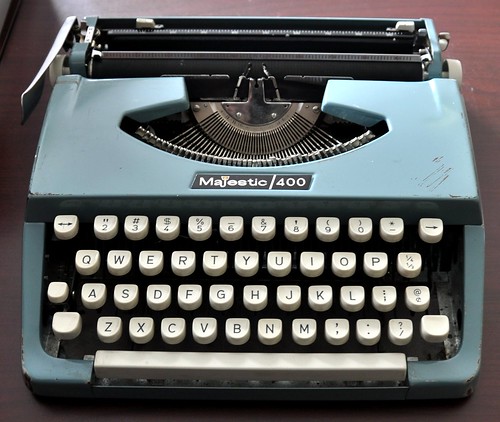
I was tidying up in my closet yesterday when I came across my old typewriter. I used to bang away on it typing up crazy stories hoping that one of them would be good enough to be published as a book *grin*. I was crazy about Judy Blume books in my pre-teen years and wanted to write just like her. Do you remember 'Are You There God? It's Me, Margaret' ? It was one of my absolute favorites :) I find it funny that this is on the top 100 banned books list because I don't remember there being anything terribly wrong with it.






 Click the Instagram link above to follow me :)