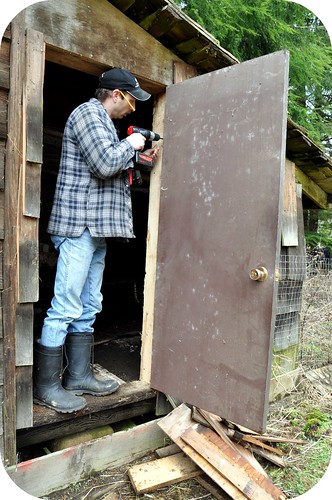
I think I speak for both my oldest son and myself when I say we are getting really excited that our chicken coop remodel is nearly finished *grin*. It was great when Hubby was home and he put in a brand new door so that we could get in and out of the house easily but since then it's just been me and the kids :)
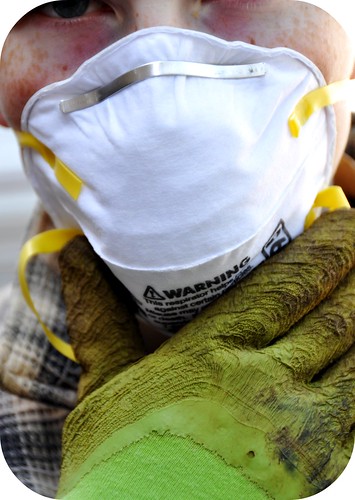
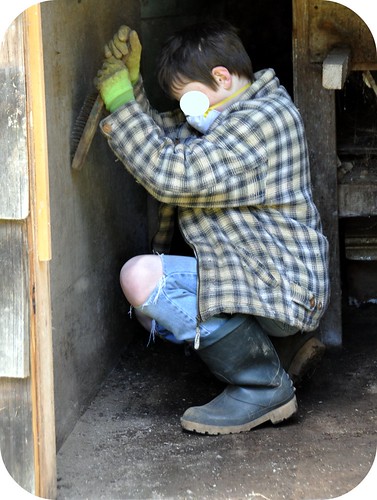
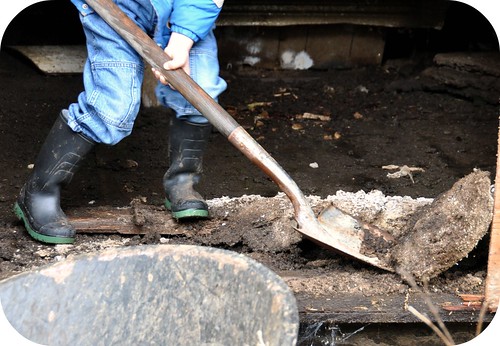
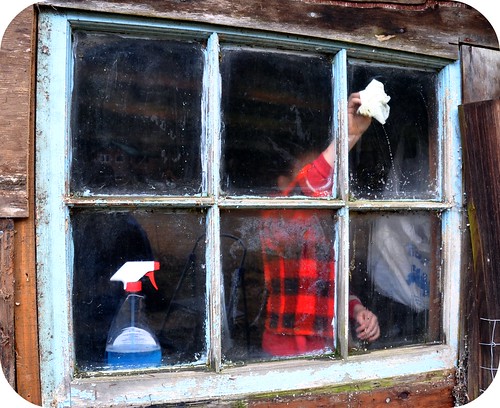
The last couple of days we've been cutting, hammering, sweeping and scraping the walls using a wire brush to get any old paint and muck off of the walls in preparation for white washing the walls. With all of the dust and dirt that was flying around I thought it wouldn't hurt to wear some masks so that we didn't breathe to much of it in :)
There haven't been any chickens in this old house for quite a few years and we found numerous holes in the floor that needed to be covered to stop any mice or rats from coming in and then there were a few larger ones leading in from the old nesting area that required some larger boards to seal off the main room to keep any other animals out that might find their way in. We do have a really big problem with raccoons and mink so I want to make sure that our new little babies are going to be safe. Plus we don't have any need for nesting boxes until later this fall when the chicks mature enough to start laying some eggs :)
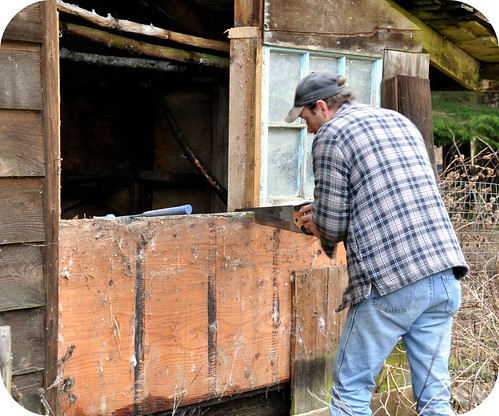
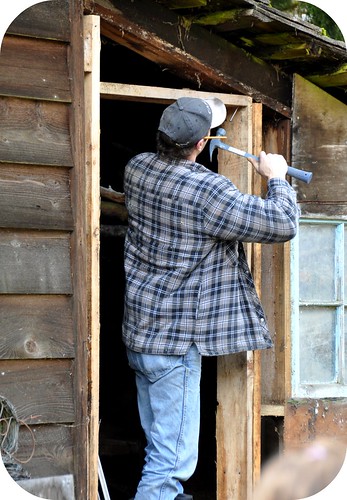
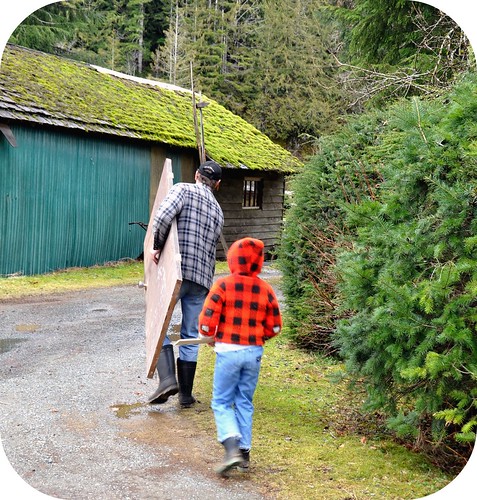
Thankfully I know my way around a skill saw *grin*. K and I scavenged through the old lumber pile by the wood shed looking for boards that didn't look to rotten and then dragged them up to the house where we could measure them and cut them to the right length for the wall we needed to cover. From there we took them back to the chicken house and started to close in the wall.
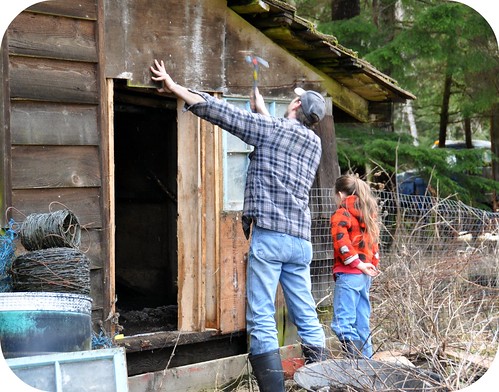
Oh boy did we have some good laughs!! K was having some trouble getting the nails started while holding the chicken wire tight behind the boards that we were nailing up so I held the wire all the while cringing as I hoped he wouldn't hammer my fingers LOL. He thought it was hilarious that I was so worried yet only minutes before he was eyeing me up skeptically as I balanced boards on the saw horses and he was worried that I wouldn't know how to use the saw :) Yup, we are quite the handyman duo *grin*.
So with all the wood work done it was time to give the insides a nice clean coat of paint with a lime white wash. It's good and cheap to make, brightens up dark and dingy barn rooms and as an added bonus it helps stop any bacteria from growing.
Just in case you're interested here's how I made it :) You will need a bag of Hydrated Lime. Make sure you get hydrated lime and NOT dolomite or garden lime. Dolomite is the greyer colored lime that you can find at grocery stores and garden centers and it is okay if you put your hands in it but Hydrated lime is a purer white and usually can be found at any building supply or farm and feed store and it has a big warning on the front of the bag that it is corrosive so when you handle it you want to make sure you wear gloves and preferably a mask when mixing because you don't want to breathe in the powder as it flies in the air.
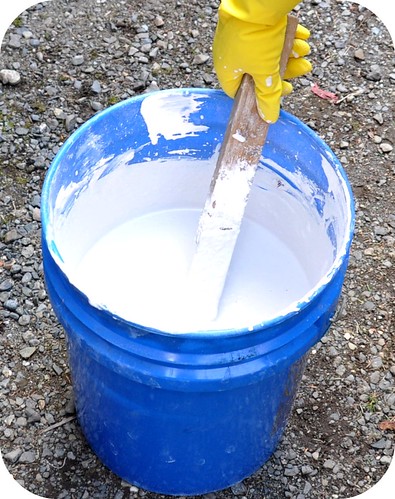
Using a large plastic pail to hold the lime and a large coffee tin as my make do measuring cup I scooped out five full coffee tins of lime and put them into my plastic pail and then I added just under two gallons of water and stirred it well to combine the water and lime. Protective eye wear is a good idea at this point to keep it from accidentally splashing in your eyes. You want it to be a nice thick paste so don't add your water all at one time or you will have to add more lime :) Now you can tuck it away for the night. This makes what they call slaked lime and is actually the base of house plaster if I'm correct.
The next morning or whenever you get back to it, take your pail and pour off any excess water that is sitting on top of the lime paste. This is water that the lime couldn't absorb. The paste as it stands now is much to thick to paint with so you will want to thin it with some salt water. I used 2.5 pounds of pickling salt to one gallon of water mixed well together and then poured a little at a time into the lime paste. You want it to be like the consistency of pancake batter but make sure you don't add to much water! You can't add more lime anymore at this point. Once you have thinned your white wash to a spreadable consistency you are ready to paint :)
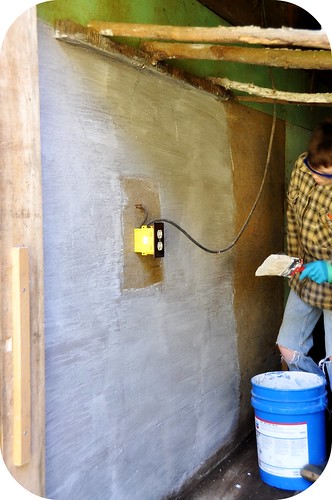
Wearing our rubber gloves and eye protection we got to work painting on the white wash. Oh my goodness this stuff is AMAZING!! It spreads on nice and thick so you get good coverage and even though it looks a little grey while it's wet it dries bright white! Our chicken coop has never ever looked so clean and good :)
Only a few more days and our babies arrives... just in time for Easter!!
Hugs,
Rosina


 Click the Instagram link above to follow me :)